Showing posts with label Decoupage. Show all posts

Sunday, March 7, 2010

Brush Holders; How I Organize My Make Up Brushes ?

Hi my dear readers :) Today, I would like to share with you guys on how I organize my make up brushes.  Its the easiest way and most implemented by many make up mavens out there. I do the same thing with my brushes , coz I love to see them well organized on the dressing table ! I bought 2 glass jars and filled up with sand and small coloured stones. You can find these things at any department stores but I purchased the glass jars and the coloured sand at SSF~ Home Deco Mart. I uploaded a few pictures of some of my make up brushes, organized in a separate jars according to types for face, eyes and some random brushes.


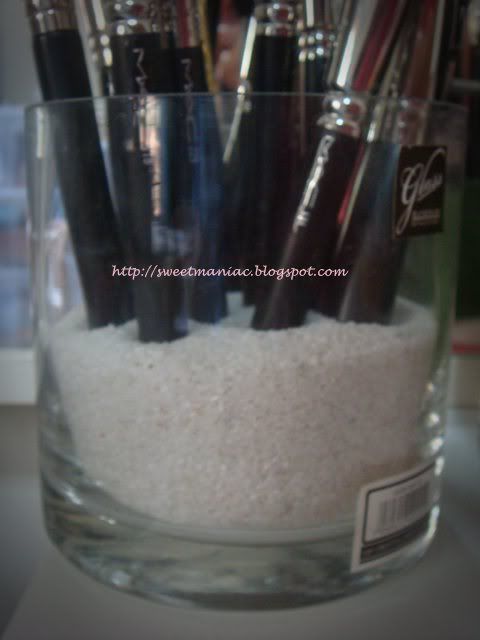


I dont like to make my life complicated !! So its another reason, why I organize my makeup brushes this way instead of putting them in the drawer because ... it is definitely super reachable and it can get organized back in no time ! :)

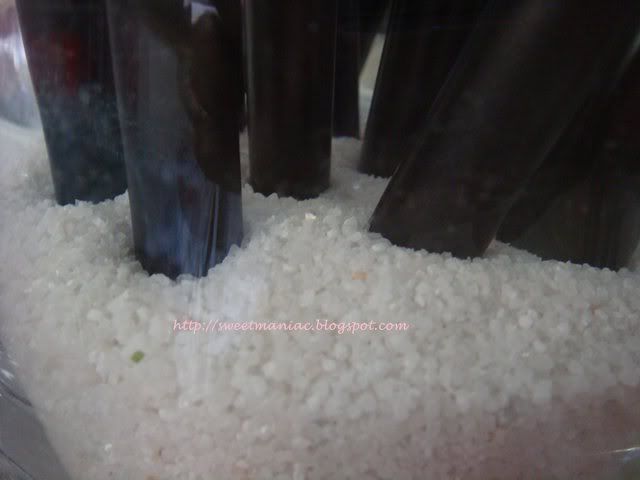
I also had decoupage a plain ceramic pot which I bought at the IKEA , with a tissue paper and filled it up with coloured stones to keep the brushes in place ! Isnt this a cool idea for a brush holder ?? Get creative and colour your world girlss! :) You also can use any kinds of jars, plastic containers ? and fill it with cheaper stuffs like rice, pebbles or even coins ! Create a brush holders that strikes your fancy or match your deco. Its fun ! :)

Friday, December 25, 2009

Lipstick Organizer , Paper Decoupage


I spent my weekends doing this lipstick rack. Actually was thinking of ways how to organize my makeups that are getting huge. .. so I decided to make this pretty smart box to store my lipglass + lipsticks. It was kinda tough though.. coz each compartment is like a triangle... so it was hard to assemble such an angle board !! I finished up with decoupage the paper and tied up a small ribbon to make it looks sweet. Hope this will help those who are searching for makeup storage ideas ! :)

Saturday, December 5, 2009

My Decoupage Project Part 2


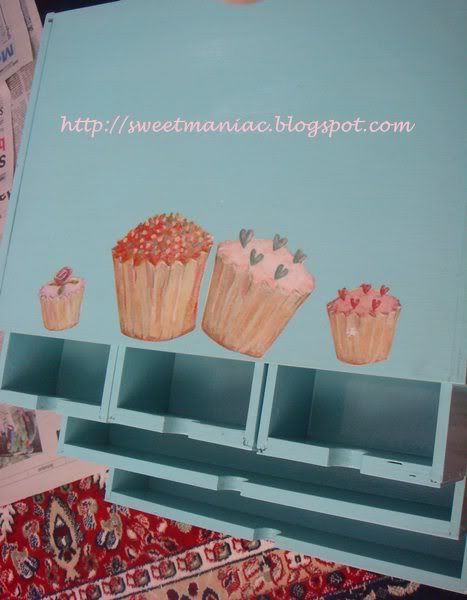
The cupcakes pattern really makes this mini drawer so cartoon ... dont you think ?

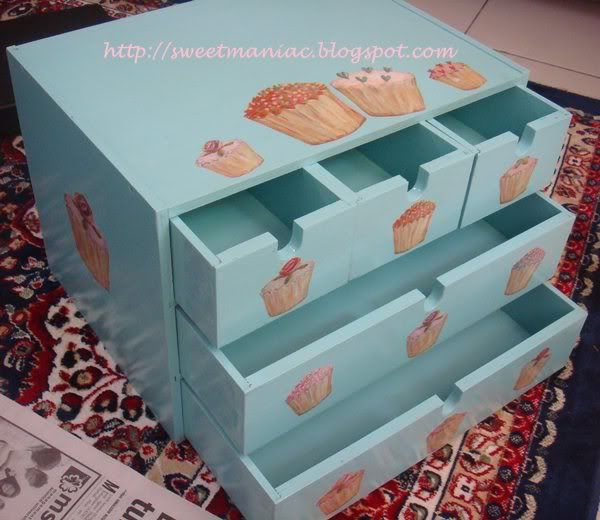
Here it comesss .. after almost 2 weeks of doing this .. here is a final product ! I can say Im so happy with this.. since its the first time of me doing decoupage ! I read several issues and problems regarding decoupage before, some says that Mod Podge is not good for decoupage because its a water base glue which cant be used on wood that has been painted with oil base paint ( coz water and oil don't mix) and the paper that we use might wrinkles during the drying process .. bla bla bla ... but I have no problems dealing with this .. and Im so grateful ! :) This will be the cutest ever mini drawer in my 'Boudoir' .. hehehe.


The side view .. has been decorated with two different cupcakes cutouts on each side


Stuffs for decoupage:

-Scissors and knife for cutting out the pattern

- Mod Podge Glue that costs me about RM45 ( I ordered it thru ebay early this year, but I've found out that ART FRIEND located at Gardens also carries many diff. kinds of Mod Podge Glue which is cheaper ). This Mod Podge act as a glue, sealer and varnish.

- Wrapping Paper ( Rm3.00 at D Nata KLCC ) .. the reason why I chose the cupcakes pattern coz its easy to cut out :p Eventhough at first I wished to turn this mini drawer into something English Country look .. I didnt find any easy to cut roses wrapping paper !!

-Paint .. small tin costs me about rm16

-Paint brush - Rm3

-Syntethic Brush for applying Mod Podge - Rm2

-Sand Paper #300, #800 - (Rm5 for 5 pieces)

Anecdote on the Process:

I have painted the drawer with 3 coats of wood paints which requires filing with sand papers between each coats ... the decoupage thing has to be varnished with at least 5 coats of Mod Podge where it must be dried up for about 15-20 minutes between each coats. The drying process makes decoupage takes longer time to finish ... its a Tiring job ! but I had so much fun doing this ... I might do tissue decoupage for the next project , well .. will see if there's anything interesting in my house that I can decorate with decoupage technique ... seems like I'm addicted to this :p

~THE END ~

Sunday, November 22, 2009

My Decoupage Project Part 1

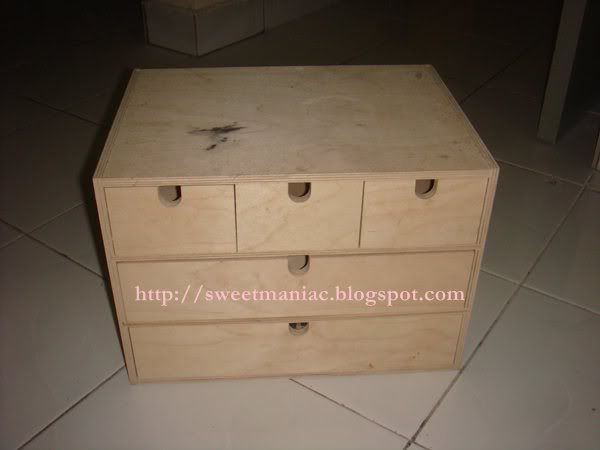
The original IKEA mini drawer

Today on Sunday, me and hubby decided to be at home to do some craft works. Usually we always go out for window shopping or else during weekends ! Somehow, we realize that there are so much things that we can do together at home instead of going out that we tend to spend money ! Luckily we share the same interest and hobby, yeaaaaay ! :) He is planning to build he's own working table and I decided to do a decoupage project ! Well, to be honest this is my first decoupage project, hehe and I dunno whether this will turn out beautifully as I imagined.. well lets see the outcomes later on .. I heard about decoupage long time ago while I was in secondary school. At that time, Debbie Travis The Painted House was one of my fav tv programmes on Astro. I think that programme is the best interior decorating show ever !!! I learnt lots of art makings from her TV show. Wish that Astro makes Debbie Travis The Painted House be showing again on Tv, coz we can be inspired by her works that we can do it ourselves .. does it makes sense ? well it does makes sense to me ...

I have this IKEA mini chest with 5 drawers which I bought a year ago for my makeup storage. Now, Its been left since I already have my dressing table and makeup box ! hehehe ... as the famous Malays saying " Habis madu, sepah dibuang" :p But Im sure Im gonna use this drawers after its been decorated beautifully .. hahaha. Maybe, for storing my threads and sewing tools :)


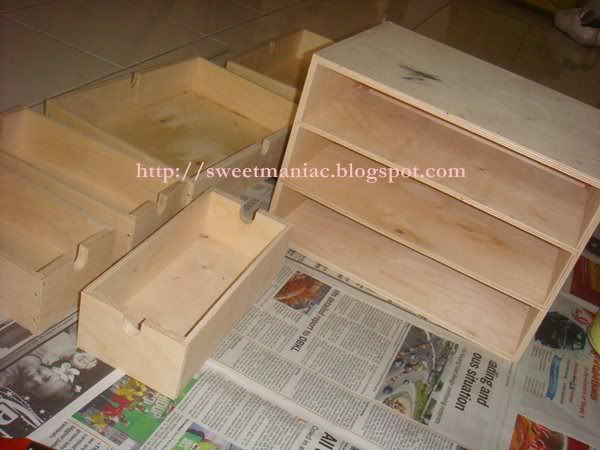
Before being painted

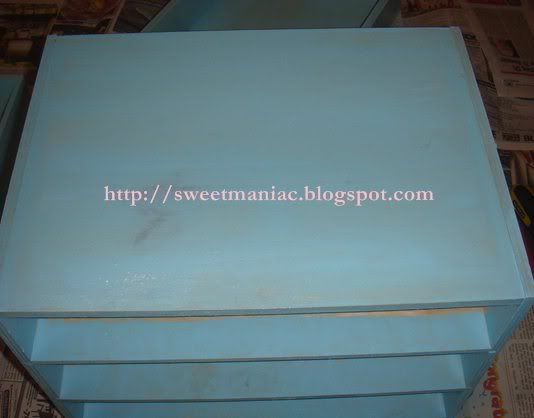
After applying first coat ... actually was eager to paint with Olivine colour or moss green, (which are my fav. colours, ermm but all colours are my fav. , seriously...) unfortunately they arent many colour choices available for cheap paints :p

First coat .. soon to be layered with second coating after the first coat becomes dry to the touch... lots of procedure isnt it .. *sigh* passion is the neccesity in the arts making process :)

Here are some of the pictures before the decoupage thingy .. I will be updating the progress as soon as the next step is complete :) ~cheers !