Showing posts with label Makeup Organizer. Show all posts

Tuesday, October 26, 2010

Depotting The Eyeshadows

I like to keep all of my eyeshadows organised n compact coz it would take a less space on the vanity table / in the drawer. I have mostly MAC eyeshadows that comes in a single pot, where I always depotted it and transfer into the MAC pro palette. I prefer palettes bcoz  pots tend to take up so much more space. I dont depot the limited editions shadows though, because of the special packaging ;) I do sometimes buy the pro pan refill shadows over the net... since not all colours available at MAC pro stores here. The pro refill pan is more effective for the palette, coz you dont have to take much effort depotting, and the magnet is already attached to it together with the label so the eyeshadows can be easily customizable.

There are several ways to de-pot the eye shadows, but the one I do is the simplest and the easiest method. Follow these simple steps:
 Tools you need: 90-95%  Rubbing Alcohol ( I dunno where to buy this since alcohol is a controlled item here, in Malaysia ;) - I was lucky to get this item from a fren who works at a cosmetic store. I guess any counters that sell cosmetics have this item since they use it to sanitize their make up/testers for hygienic purpose) , Cutter, Any sharp/thin/pointy tools ~ a knife will also work, a cotton bud and tissue
*Dont worry if you dont have alcohol, you can use a lighter / burning candle to heat the pan to take it out from the plastic insert, follow the initial steps below first...
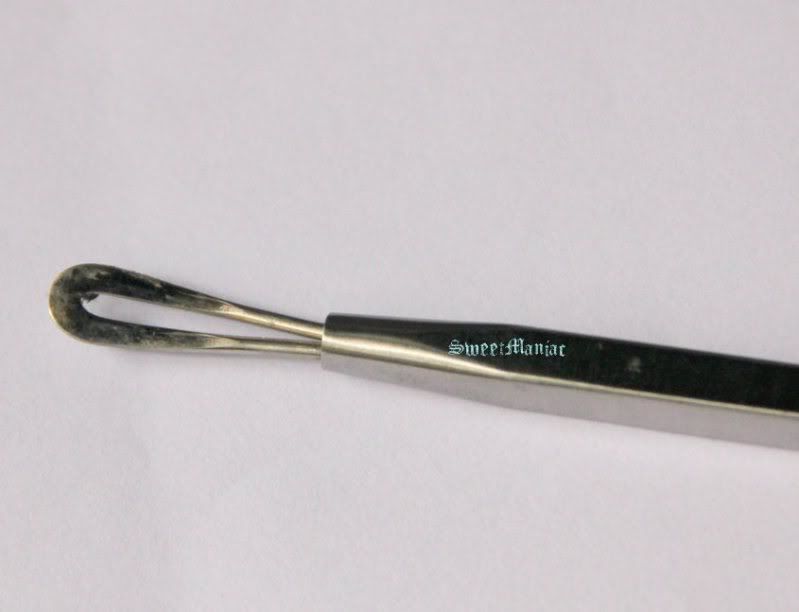
 I use a big metallic loop extractor thats specially designed to remove the blackheads to separate the eyeshadow pan from its case. 
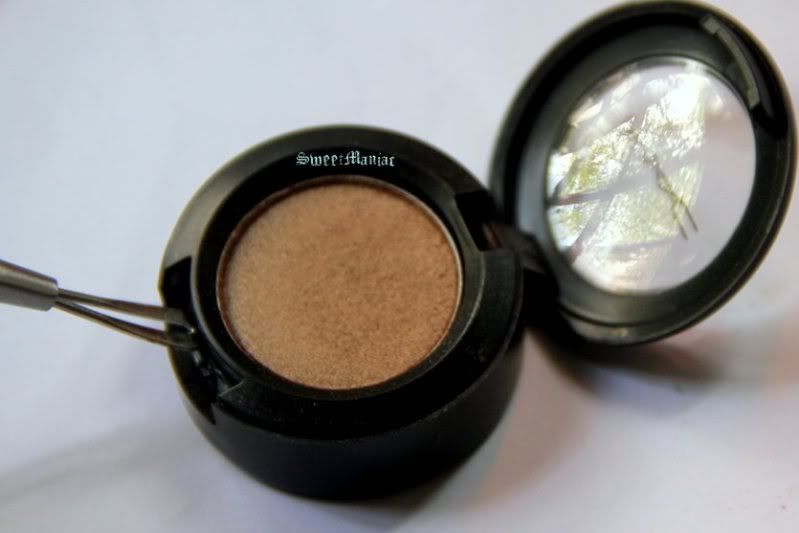
 Insert the pointy tips at the front latch of the pot, and gently push up the insert plastics that holds the metal pan eye shadow apart from the pot.
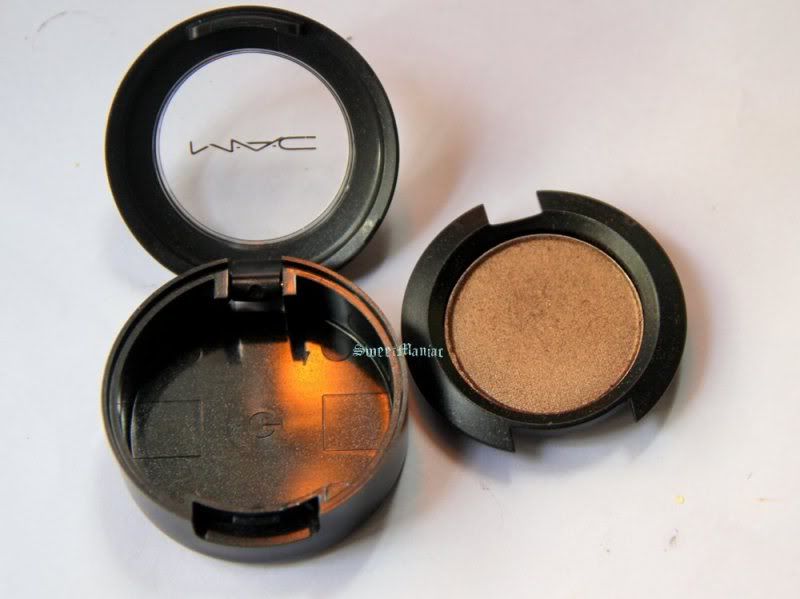
The two separated pieces. You can put aside the empty container  but dont throw it away ! Collect 6 of the empty pots (mix of any 6 empty containers would do) you can get them back to MAC and youll get one regular lipsticks of your choice except for the Viva Glam range in return ! ;)

Cut just a little bit of the front latch  on each end (becareful not to cut the metal pan). Grab the plastic insert in between the cut piece by using the plyer and peel it of a little until you see the metal pan.

*If you are using candles/lighter, just heat up the bottom of the pan to melt the glue. Hold the pan by using a mini sharp pointy plyers coz the pan will turn very hot. After a few seconds, try push the heated plastic insert by using the mini plyers... make sure you turn the eyeshadows facing a clean towel/paper coz it might pop out from the plastic pan and dropped.
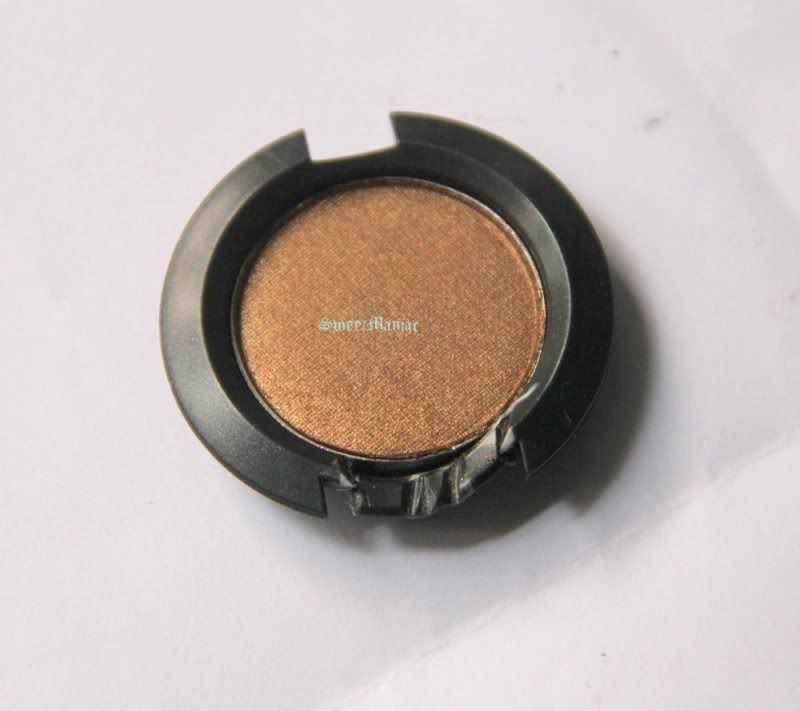
 Pour a lil bit of alcohol into the peeled area and wiggle it so that the alcohol is spread all over the bottom of the pan. You can directly spray the alcohol / wet a q-tips with alcohol and drip it into the spots in between the metal pan and plastic insert. Try not to get too much of  alcohol into the products, just drip it directly between the holes. The alcohol may soften the glue and removing the pan from the plastics would be easy !

*You may skip the above step if you are using flames. Try re-heat if its hard to remove the pan from the plastics until the glue is completely melt. You may follow the steps below after you have finished with the heating part.
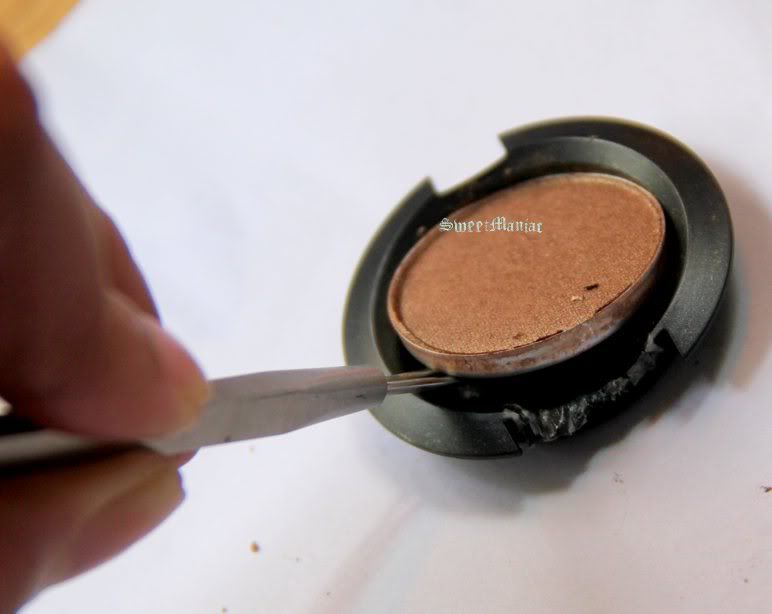
Once again, I use the pointy tools and push up the metal pan from the plastics. Do it very2 gently !
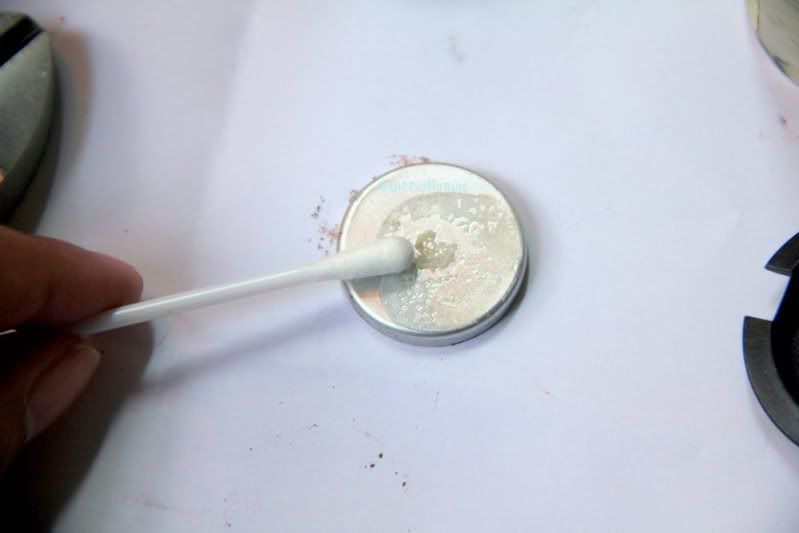
Here is the metal pan when its taken out..the remaining glue that sticks at the bottom can be cleaned up using the alcohol. Use a q-tips to do this and rub off any excess by using a tissue paper. Make sure that you place the eyeshadow pan on any clean surface ( I use a white paper). You can either place it on a clean towel / tissue paper instead.
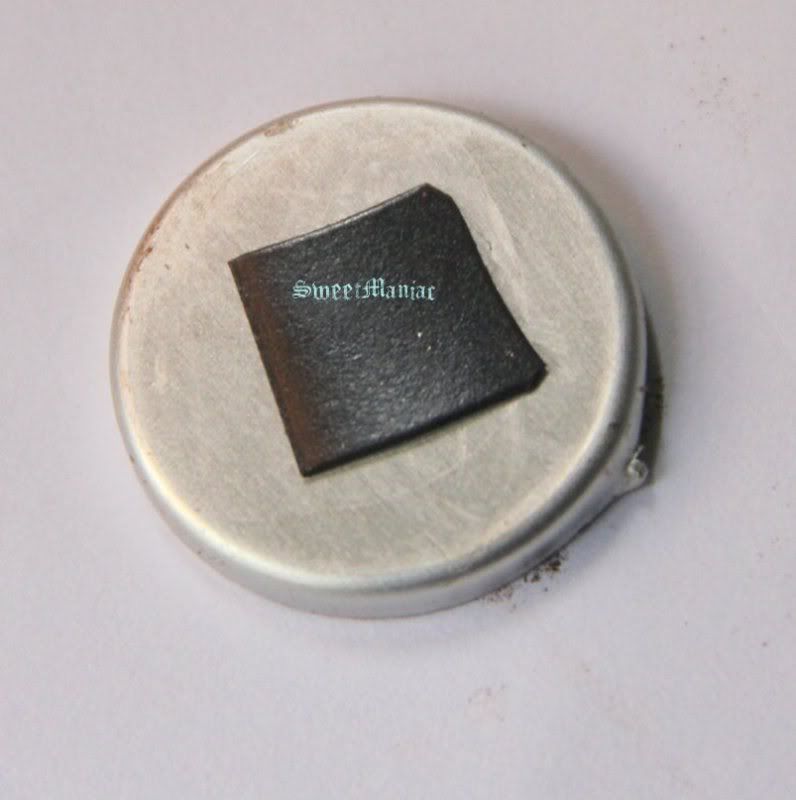
Cut a piece of magnet and attach it to the bottom of the pan using a double sided tape. The magnet paper is rarely find here coz its a product from Japan ( you can look up this thing at kinokuniya/ jusco midvalley/Isetan stationaries). If you wanna put the sticker lable at the back of the pan, peel off the labels from the pot first and attach to the magnet using the double sided tape and cut the magnet according to the label shape.  
*Notes: The sticker labels is easier to be peeled off by heating the pots. Hold the pot with  a plyer couple of inches away from a burning candle to make sure the sticker label is not burned out. Heat until the glue melts and its surely can be easily taken off from the pot.


After the depotting and labelling is done... you can now customize the depotted shadows in an empty palette as you like !! ;)

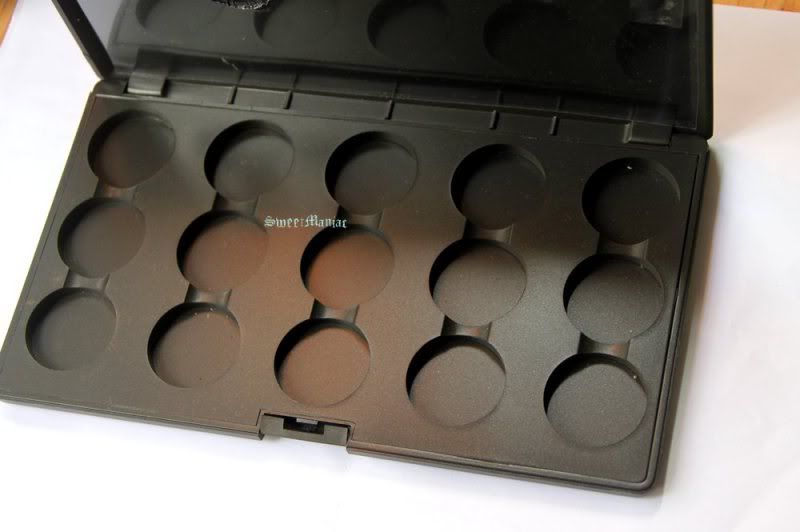
There are two types of palettes that you can choose .. one is a pro palette that has 15 empty slots and a quad that of course has 4 empty slots. These palettes can be purchased at the pro stores ( klcc / midvalley).
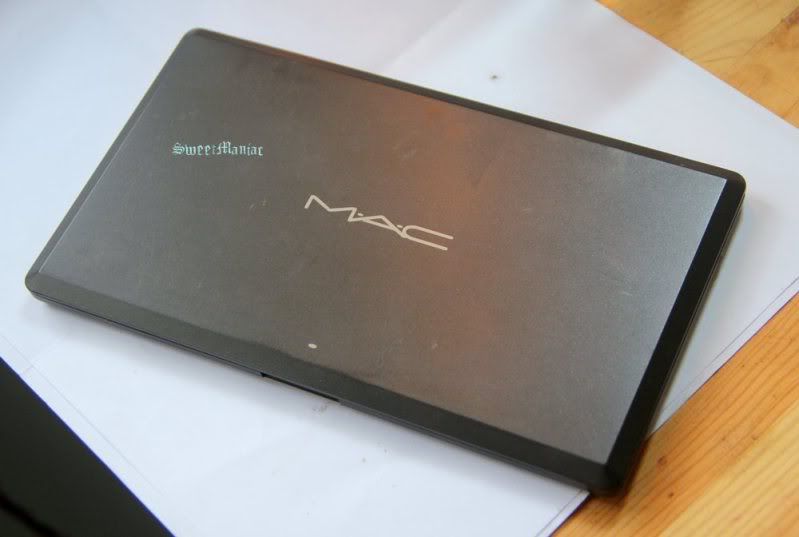
  
 MAC pro palette that holds 15 eyeshadows
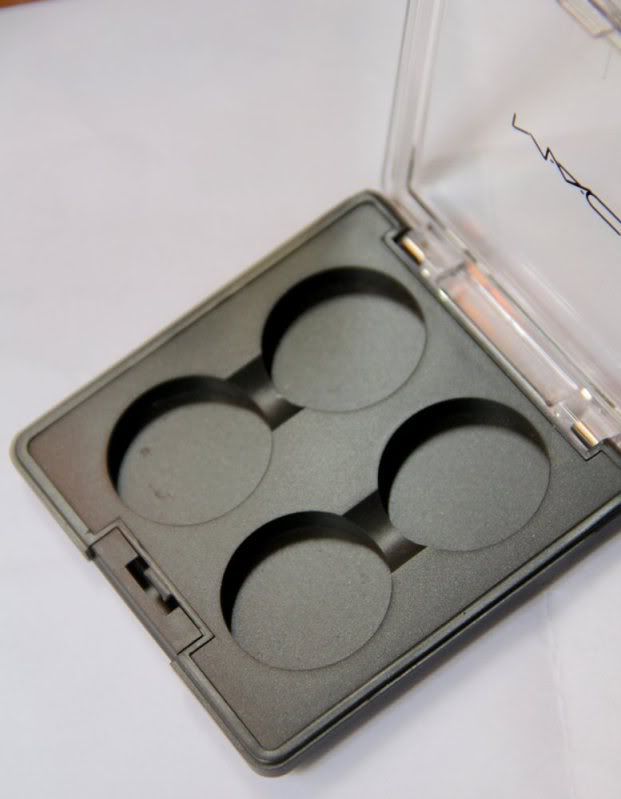
MAC quad that holds 4 eyeshadows
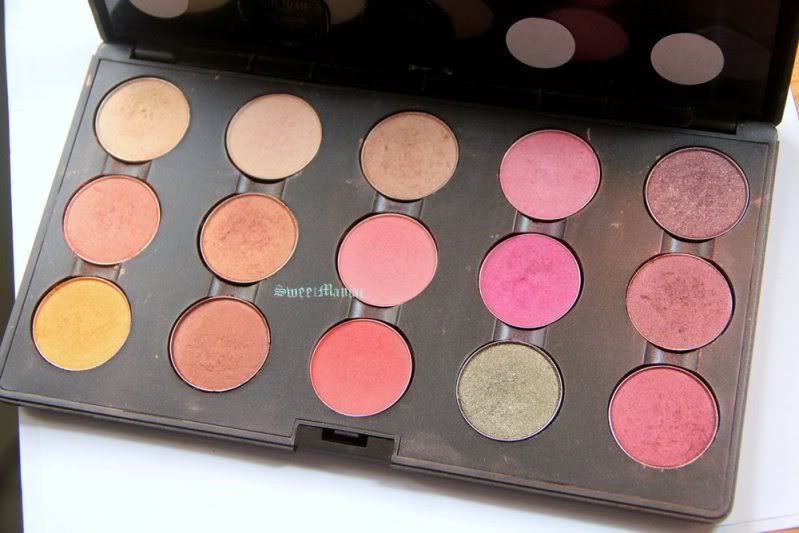
My MAC peach + pink palette. I like to keep all of the eyeshadows in palettes coz I think they are more organized and its easier to get an overview, and to decide which combinations to choose. 
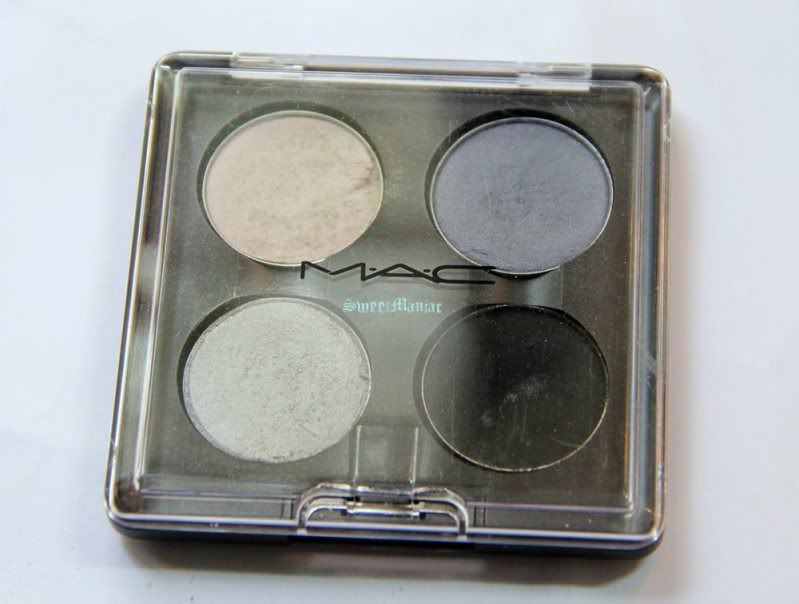
In case you are wondering... From left- right .Top: Vex, Love Lace, Bot: Electra, Carbon
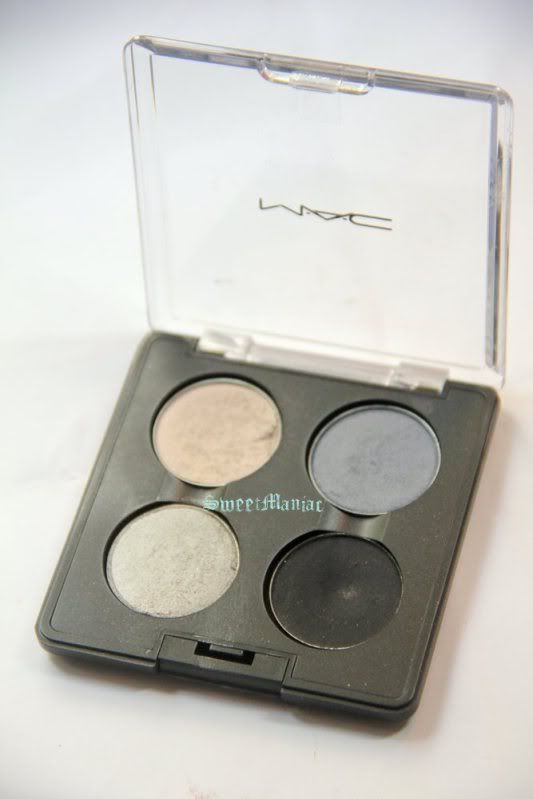
The quad is more handy and portable. I usually will pop in the shadows I need in this quad if im travelling coz its much more easier to pack. You can mix and match and change the colour anytimeeeee as you wish ;)

~Happy depotting and organizing your eye shadows !~ ;)

Thursday, June 24, 2010

Lipstick Rack Second Version


My lipsticks got a new room, yeay ! Been waiting for this new lipstick holder to be finished up by my other half for monthss !! .. but this thing was quite complicated to do since it has many compartments to fit just the accurate size of a lipstick. The body of this rack as well as the drawer are made of  very thick plywood. Its been painted with very light kinda greyish blue to match with my powder organizer, click here if you missed the entry. As usual, its been distressed coz I loveee Shabby Chic Style deco.


The sectionals (since its mini square holes) are made up using chip boards. The board is cut into small square pieces and wrapped up using the regular one that you can get at most stationaries. Don't forget to glue up the wrapper using UHU glue. This glue holds up the two pieces strongly, and it gives very smooth finish to the surface .. always use brush to apply the glue evenly to avoid any bubbles from appear.I love getting beautiful wrapers at any Love Lace stores.. The same patterns , selling at the Kinokuniya are doubled price than anywhere else !


One drawer can fit up to 50 lipsticks max. So, one rack can store not more than 100 lipsticks altogether. I dont have that huge amount, yet ... No, I dont ! Its a long term planning so I dont have to rebuilt again in the future.
Since, this organizer is purposely for my lipsticks.. so the lipglasses dont fit the drawer well. Lip glasses are longer in length .. so I have to ask my dear hubby to build another drawer, especially to store the lip glasses separately ! :p

p/s: My previous lipstick rack is kinda small ... click here to jump to the entry. Im currently using this as my pencil organiser.

Hope you enjoyed reading :)

Monday, April 5, 2010

Cutlery Tray

This is a new product from my hubby ... handmade, purposely for cutlery for sure.But saddenly for Him coz .. guess what ?  I wanted this to be my MSFs and compact powder organiser !! hehehe :D It seems like my Msfs are getting crowded so I have to find something else to store 'em. I used to organise my MSFs in a box type made of a plain chip board. To see my previous kind of organizer for MSF and Blusher ... click here

Im so in love with Shabby Chic style so I prefer this one to look antique too ! :)


Love the way the MSF are organized in this cutlery tray...


The size is quite large that can fit about 12 MSFs on each side ...

This cutlery set is inspired by the one I saw in Country Home Magazine .. issue Feb 2009... but I know this kind is already common.... but I love it ! Less is more :)

Sunday, March 7, 2010

Brush Holders; How I Organize My Make Up Brushes ?

Hi my dear readers :) Today, I would like to share with you guys on how I organize my make up brushes.  Its the easiest way and most implemented by many make up mavens out there. I do the same thing with my brushes , coz I love to see them well organized on the dressing table ! I bought 2 glass jars and filled up with sand and small coloured stones. You can find these things at any department stores but I purchased the glass jars and the coloured sand at SSF~ Home Deco Mart. I uploaded a few pictures of some of my make up brushes, organized in a separate jars according to types for face, eyes and some random brushes.


I dont like to make my life complicated !! So its another reason, why I organize my makeup brushes this way instead of putting them in the drawer because ... it is definitely super reachable and it can get organized back in no time ! :)


I also had decoupage a plain ceramic pot which I bought at the IKEA , with a tissue paper and filled it up with coloured stones to keep the brushes in place ! Isnt this a cool idea for a brush holder ?? Get creative and colour your world girlss! :) You also can use any kinds of jars, plastic containers ? and fill it with cheaper stuffs like rice, pebbles or even coins ! Create a brush holders that strikes your fancy or match your deco. Its fun ! :)

Friday, December 25, 2009

Lipstick Organizer , Paper Decoupage


I spent my weekends doing this lipstick rack. Actually was thinking of ways how to organize my makeups that are getting huge. .. so I decided to make this pretty smart box to store my lipglass + lipsticks. It was kinda tough though.. coz each compartment is like a triangle... so it was hard to assemble such an angle board !! I finished up with decoupage the paper and tied up a small ribbon to make it looks sweet. Hope this will help those who are searching for makeup storage ideas ! :)

Sunday, December 6, 2009

Self Made Blusher and Powder Organizer

I slept at 4 a.m last night because of this !!! I decided to create this box, especially designed to fit my MSFs and blushers coz there arent any makeup organizers in the market that satisfy my need .. hmm well .. what do you think ? I made this from a chip board... cut according to size and assembled to form a box of two diff. size compartments. I glued my fav. wrapping paper all over the box and look at thiss .. adorable, isnt it ? :) I will finish off this box with several coats of varnish to protect the paper and make it appear glossy. Its not enough ok .. Im gonna do diff. types of makeup storage box soon .. what should be the next one ? A lipstick/ lip gloss rack, perhaps ..