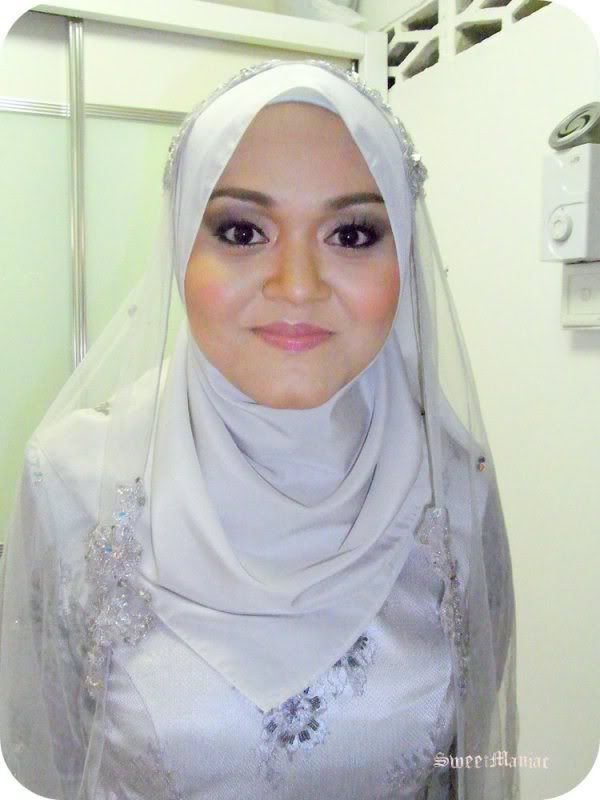
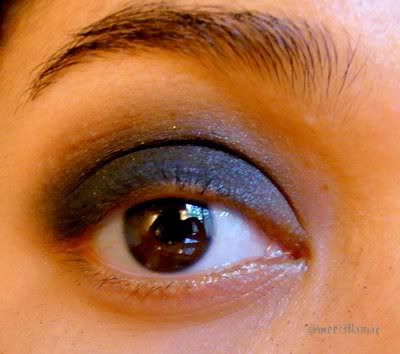
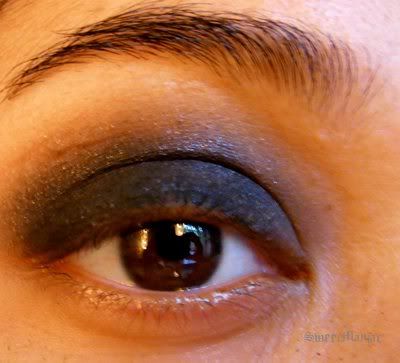
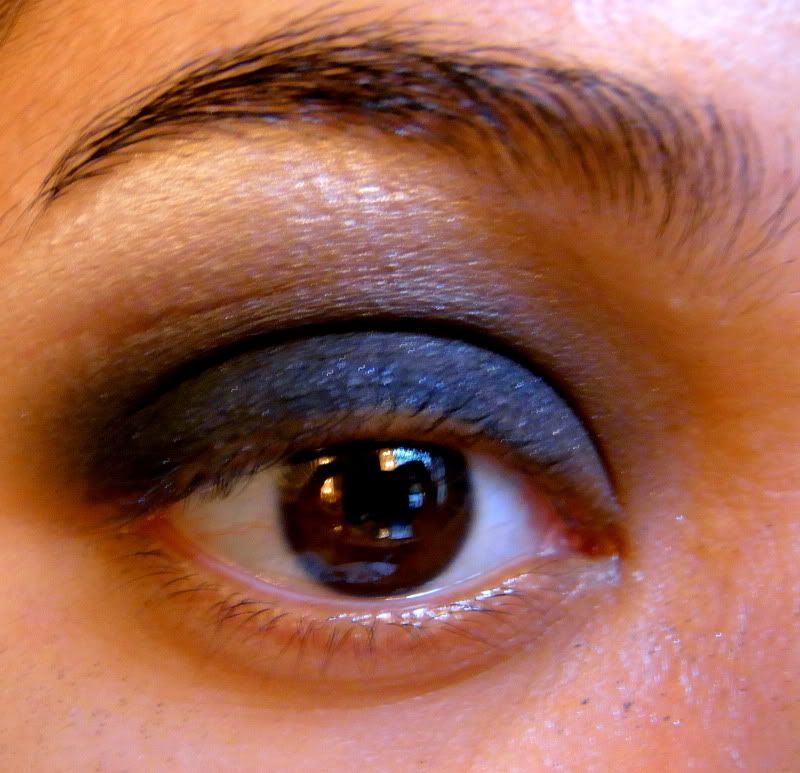
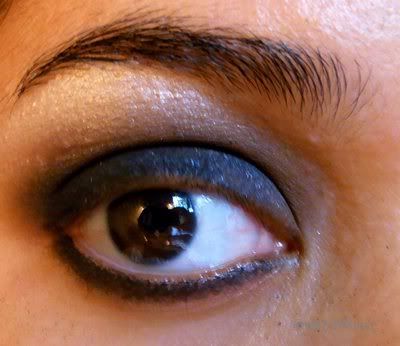
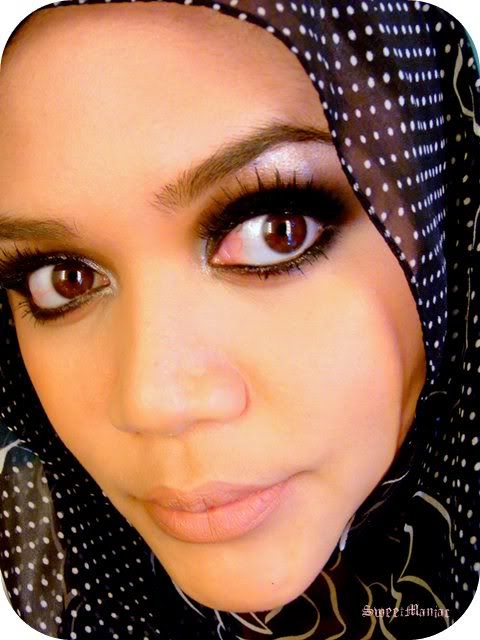
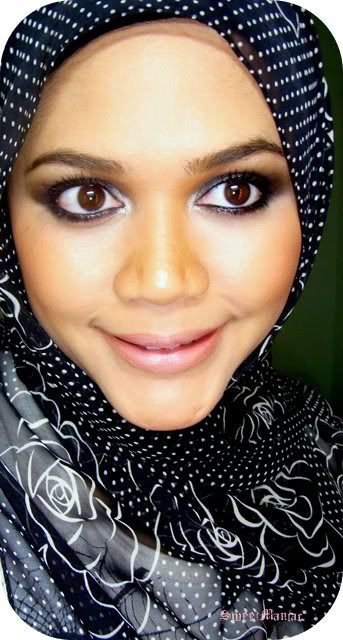
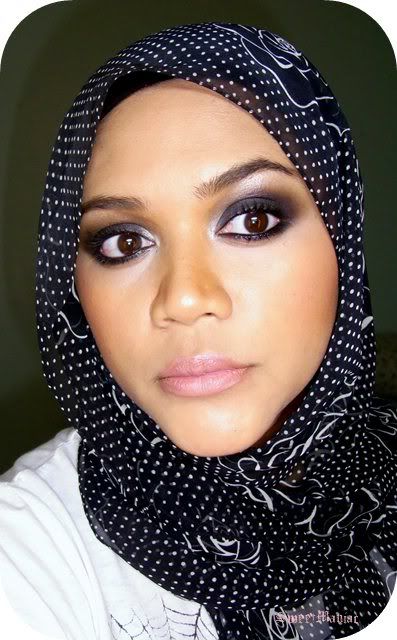
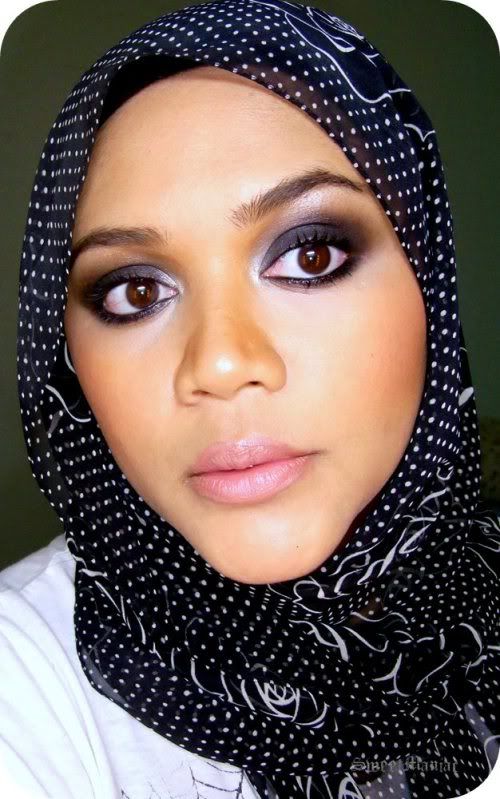
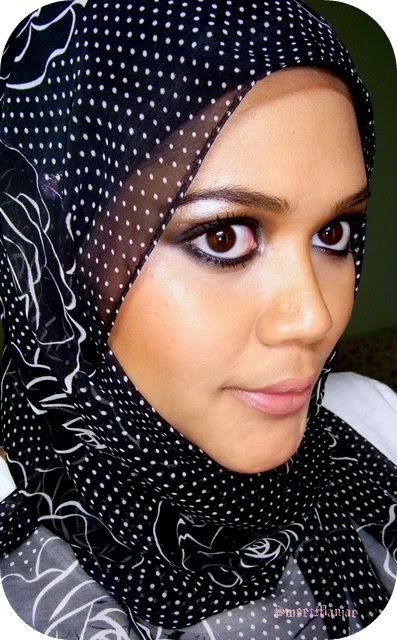
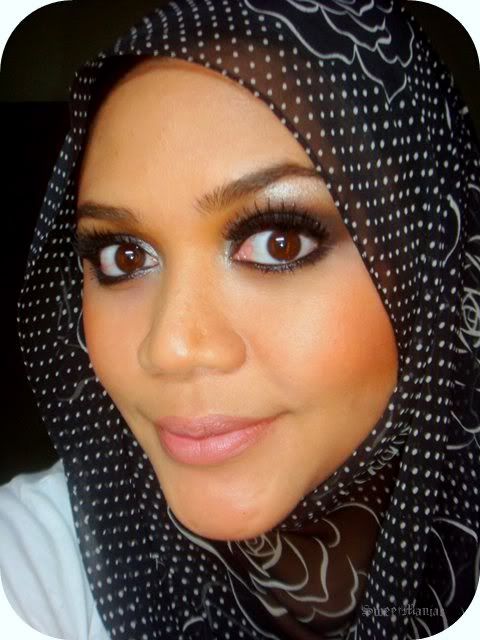
Here comes the picture tutorial as promiseeeed , especially to my dear followers ! Hope you enjoy ;)
Im gonna show you my way of achieving the look, some alternative products that you can use, doesnt really important whether its an expensive products / not.. what really matter is the products suits your skin type/skin colour, have great pigmentation whatsoever and product for eyes depending on your eyelid condition either oily/dry. I think anyone can achieve this... just practice and experiment with whatever products that you have. If you wanna achieve a perfect eye make up, invest on good quality brushes .. you will have better results ! Trust me ;) This look is suitable for dinner.You can save a lot of money if you do your own make up ! ;)
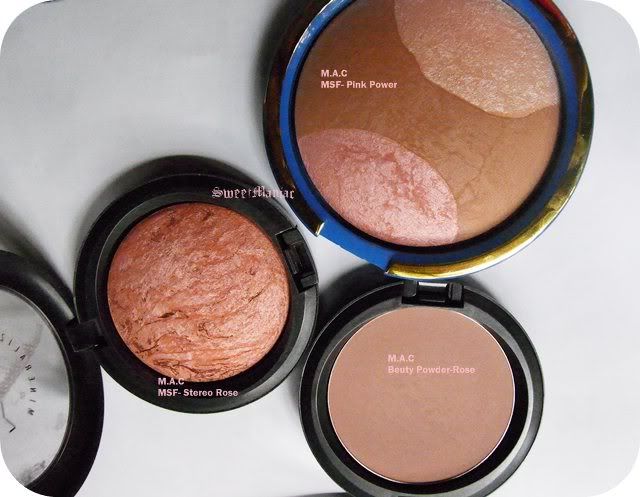
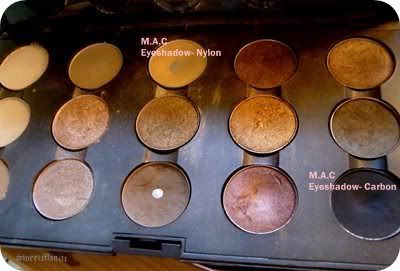
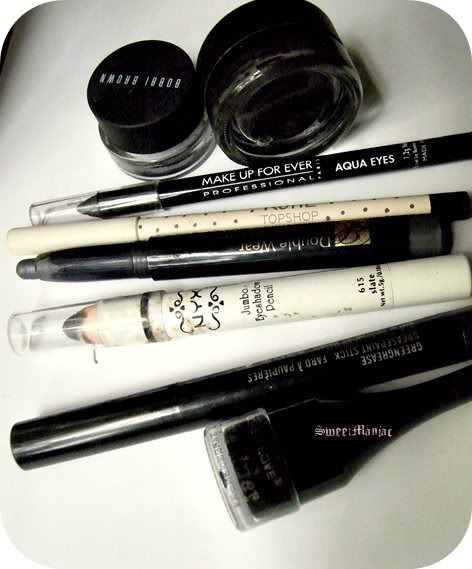
Here are the overall tools and products that I used for this look... but forgot to include the mascara and brushes ! ;p I will just mention it in the tutorial.
Face:
Studio Sculpt foundation in NC35
Chanel Loose Translucent Powder #30 Naturel
Blush: MAC Beauty Powder in Rose + Stereo Rose MSF
Highlighter: Shimmery Pink colour from Pink Power MSF (wonder woman collection)
Eyes:
MAC Blackground PaintPot
MAC Carbon
MAC Nylon (as highlighter)
MUFE Aqua Eyes waterproof eye pencil
MAC Fascinating Eye Kohl (for white on the waterline)
MAC Zoom Lash Mascara
Lips:
Laura Mercier Natural Lips lipliner
MAC Blankety Lipstick
You can use whatever brand of black eyeshadows that you have, it doesnt really matter.. but its good to have an eyeshadow base to make the black shadows more intense .. can use the following :
Paint Pot, Gel Liners, Eye Kohl (non/waterproof depending on your lid), Shadestick, Jumbo Pencils, etc
Note that I used all MAC brushes in this tutorial.. but you dont necessary need to have these brushes to achieve the eye make up.. use whatever type that you find is similar in function ;)
The tutorial begins here ..
Note that, you can achieve a smokey eyes, not just using black/silver colour... but you can use any deep dark colours as your main colour.. like plum, deep purple, blue, green as you wish... you can follow the same steps as below ! Its the simplest step to achieve a dramatic eyes. Enjoy ;)
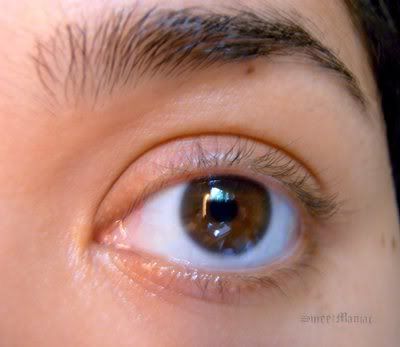
Step 1: Get to know your eyelid type.. if its oily, its important to prime your lid first. Use whatever type that you find helpful to prevent the eyeshadow from breakout. Some people can survive with just applying a lil bit of foundation/concealor, a wash of natural eyeshadows/loose powder all over the eyes. If you have super duper oily lid, even paint pot cant help to prevent the break out ! Use a good natural colour eye primer first before the application of paint pot.
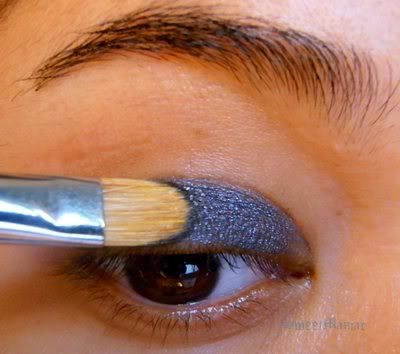
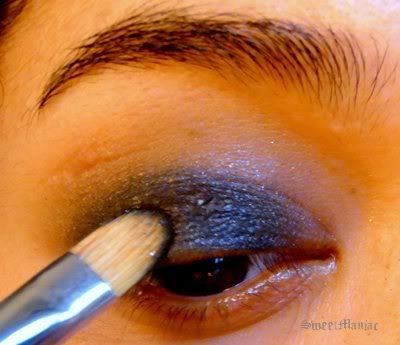
Step 2: I used a synthetic brush to apply black base eyeprimer because synthetics brushes are great for application of creamy products. I apply blackground paint pot just all over the lid. You can use different black eyebase as shown in pictures above (alternative products if you dont have paint pot). This is to make your eyeshadows appear more intense. MAC Brush #242
Doesnt really matter if its not perfect ...you need to blend the outer edges to get rid of any harsh lines.
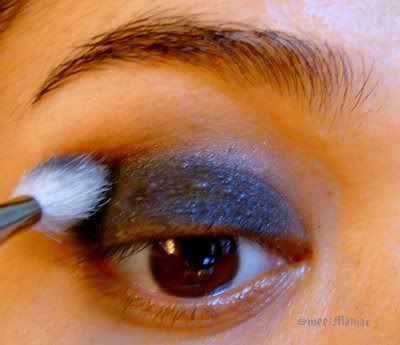
Step 3: Blend the eye base a lil bit upwards, make sure it is smooth out towards the crease. I used a dome type blending brush MAC #217 to blend/ smoothen out the paint pot. If you use paint pot, make it quick coz this product dries super fast !
Step 4: Using the same #242 brush, I just pat a black eyeshadows on top of the eyebase all over the lid. Make sure you just tap tap the eyeshadows on the lid and not with rubbing motion coz that would just wash out the colour. Remember that you need more intensity on the lid.
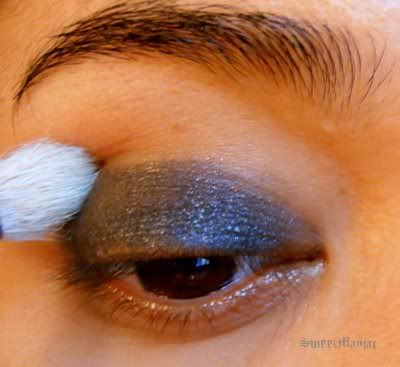
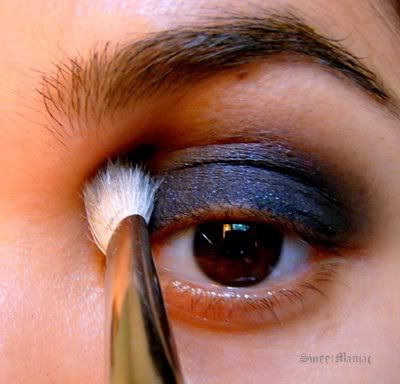
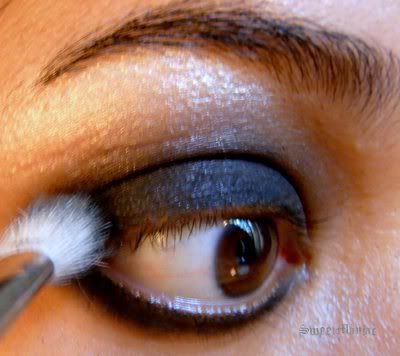
Step 5: After that, blend the shadows upwards, starting from the crease and a bit high up... like a wiper motion towards the bridge of your nose. (This one need special techniques, just a soft movement) To check, open your eyes, look straight in the mirror and see whether its already shown on the crease. Blend higher if you want the colour to appear more.I used the same #217 blending brush to blend the shadows.
Dont be afraid to blend it inwards towards the bridge of the nose....
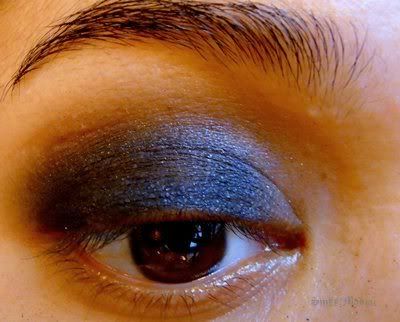
The results after blending ...Ive used only one main black shadows in this look coz someone had asked for it. You can blend the crease with any of your desired colours, purple, blue, gold, pink, taupe, soft brown but make sure the colour is a medium shade to black coz that would make your blending look soft and looks like its shading upward like a tone of colour. Tips: use a softer blending brush for a more soft blending look
This is what it looks like when I look straight in the mirror. The blending colour looks soften upwards, lighter in shades, like you just blend with a brown colour, though its not !
I left the inner part coz I wanna put a highlighter in the corner of the eyes so that it will open up and brighten the eyes a bit. Too much of dark colour all over the eyes will make your eyes look smaller and the eyes look closer together. If you prefer to put all over black shadows you can skip the highlighter on the inner corners .. depends on how you would want your eyes to look like
Step 6: Apply highlighter on the highest point of your eyebrow. You can skip this if you dont have any highlighter colour, but the application of highlighter on the browbone really gives high impact to the rest of your eye make up. I used Nylon by MAC on the browbone as well as on the inner corner coz its such a nice contrasting colour to black. A shimmery golden colour thats so gorgeous when you do smokey eyes.
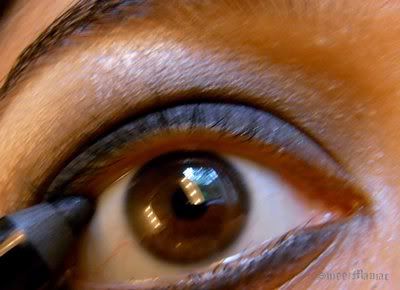
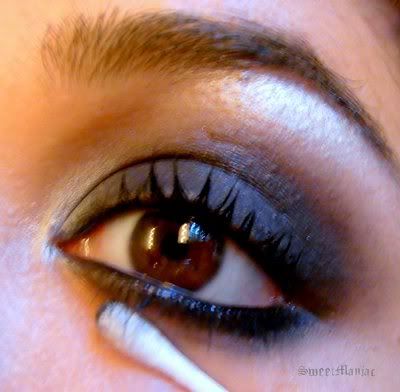
Step 7: Draw a line on the bottom lashes using a waterproof eyeliner.. or you can use paint pot / gel eyeliner as base, or directly apply eyeshadows on the bottom lashes.
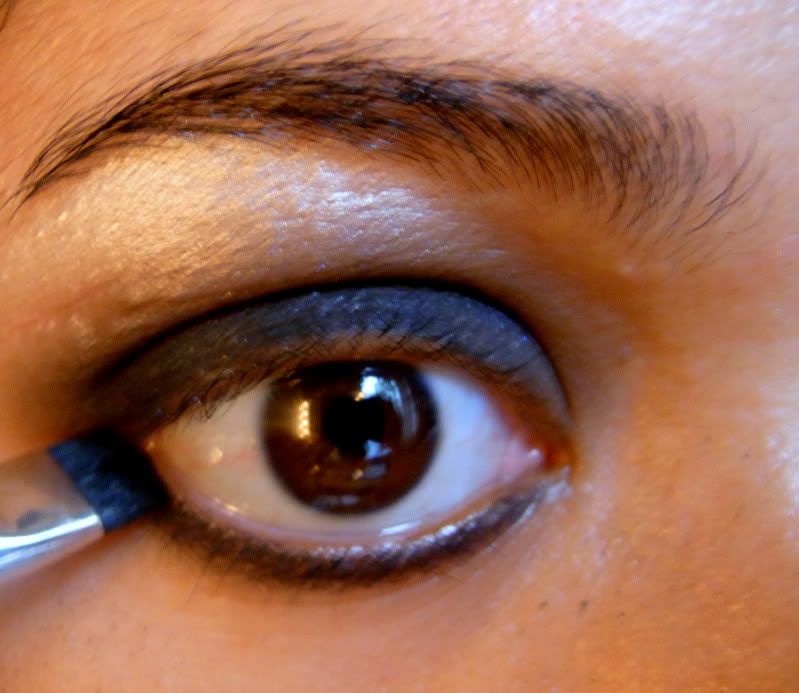
Step 8: If you draw a thin line with the eye pencil, next step is to set it with a black eyeshadows and you can extend the thickness of it depending your preference and your eyeshape. Use a flat shader brush / pencil brush to smudge the shadows on the lower lashline for a smokey eye look. I always starts at the outside corner towards the inside coz you need to apply darker on the outer and shaded lighter towards the inner. You can choose to apply the same dark colour all over the lashes towards the inside. I used #214 flat shader brush for this purpose.
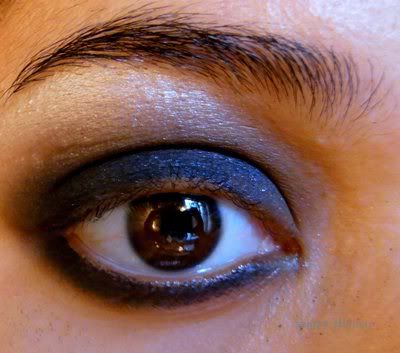
Step 9: For my eyes, I like to thicken the line on the outer corner a bit for a bold look. Make sure you join lower and upper eyeshadows by blending the colour together.
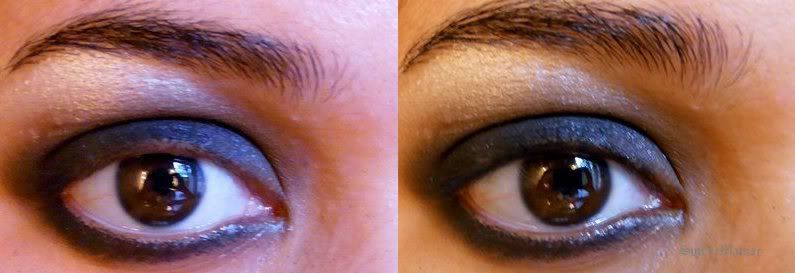
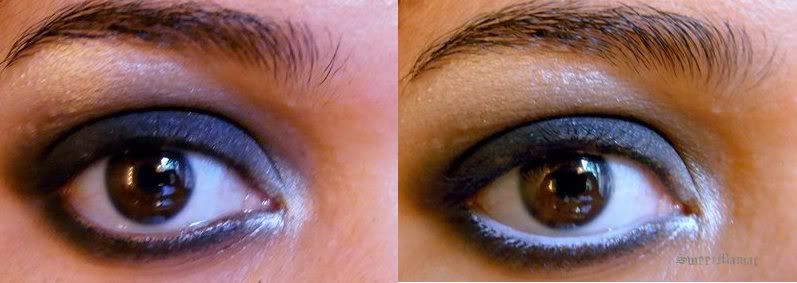
Step10: For best result, apply black kohl / gel liners on the water rim upper and lower. I have made two comparisons using two different colour eye kohl for you to see.
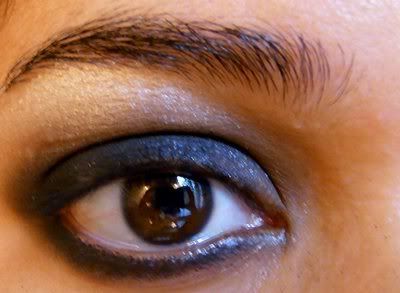
The eye image after applying eyekohl on the upper waterline .. before applying highlighter on the inner corner
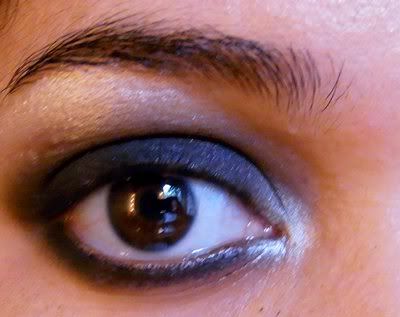
After applying eyekohl, with highlighter on the inner corner
Step 11: If you have small eyes, and wish them to appear bigger.. apply a white eyekohl on the waterline. If you dont mind your eyes look smaller but define, apply a black eye kohl instead. I will show the comparison when applied to my eyes later ...
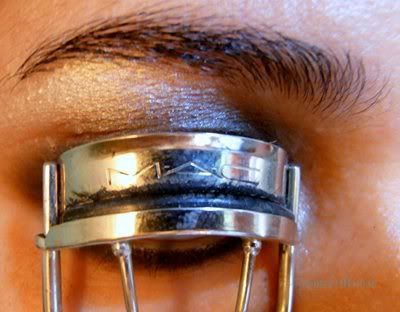
Step 12: To finish off, curl your lashes several times and apply several coats of mascara ! I advice you to do your eye make up first before your face make up because, when you are working with black eyeshadows, it will tend to drop a lot and will ruin your foundation.
By doing your eye make up first, you can easily clean the fallouts or any mistakes using a cotton bud and even can use a make up remover if necessary. The application of foundation afterwards would also help to clean up any dirt around the bottom eyes. Your eye make up is done.. wallah ! You can proceed with the rest of your face ;)
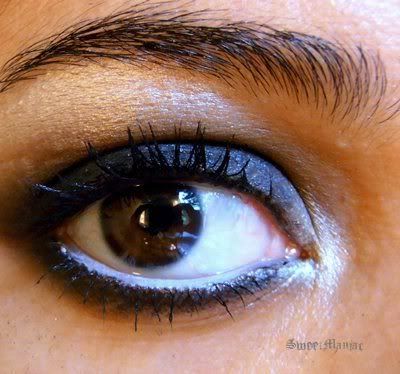
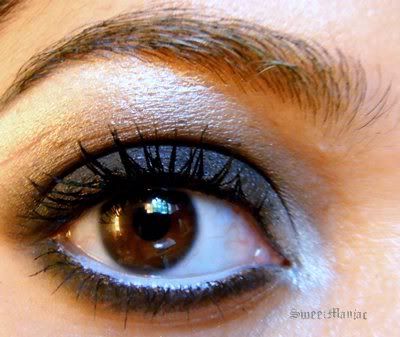
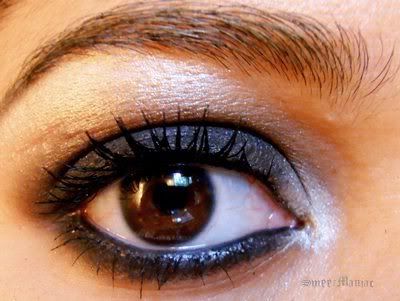
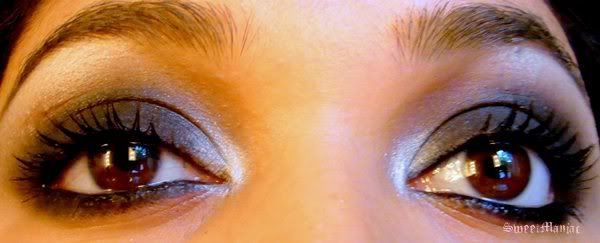
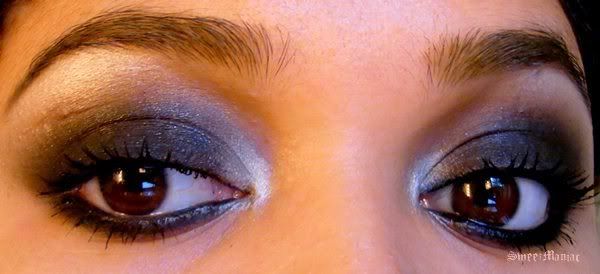
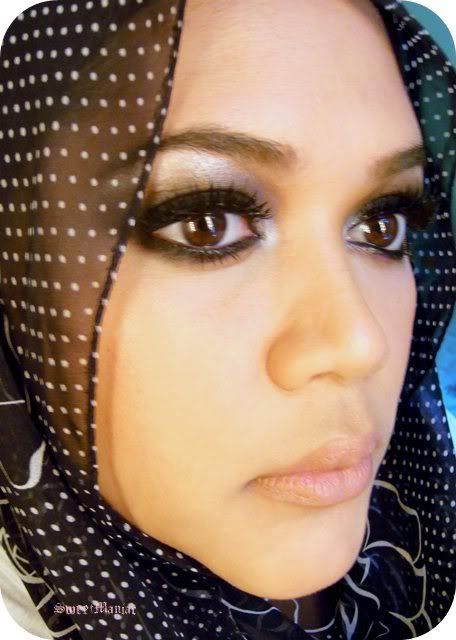
Here is the finish result of the eye make up...
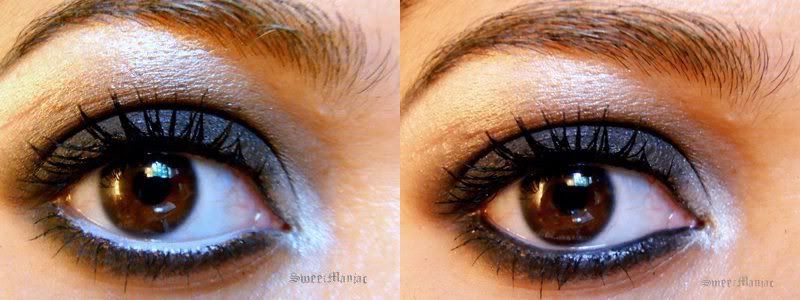
After few coats of mascara ... and white eye kohl pencil on the waterline. Definitely the eyes appear bigger !
Using black eye kohl on the waterline gives more drama but will somehow make the eyes look smaller
isn't it ? If you wish the eye make up to be more dramatic, apply false lashes with the help of tweezers. Its easier to place the falsies nicely when you look down into a mirror., so you will less blink the eyes. Choose a heavy one coz the eye make up is a bit dark.. so you want the false lashes to stands out more. Apply several coats of mascara afterwards to make the fake one stick to the original one so that it will appear naturally like your own. If you dont like to wear falsies, you can just apply several coats of volumizing mascara.
some of comparison pictures ...
before the application of mascara and eyeliner on the waterline
with and without white eyeliner on the waterline
comparison between two colours on the waterline: white eyeliner vs black eyeliner
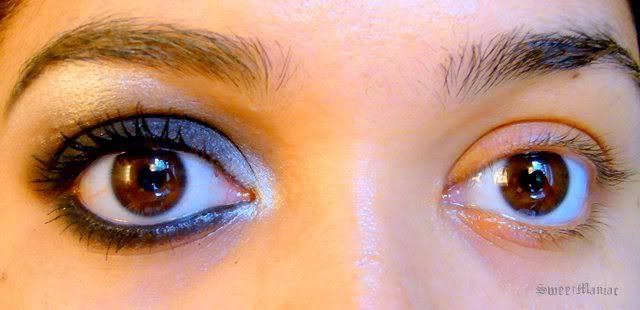
with and without eye make up .
The finished result without the falsies
end of tutorial ...
see the whole look on my previous post.
I hope you find it useful !