Tuesday, October 26, 2010

Depotting The Eyeshadows

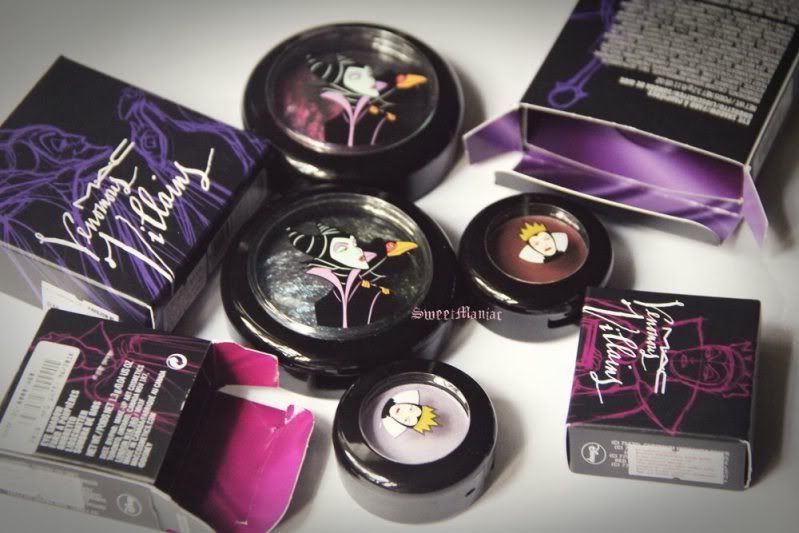
I like to keep all of my eyeshadows organised n compact coz it would take a less space on the vanity table / in the drawer. I have mostly MAC eyeshadows that comes in a single pot, where I always depotted it and transfer into the MAC pro palette. I prefer palettes bcoz  pots tend to take up so much more space. I dont depot the limited editions shadows though, because of the special packaging ;) I do sometimes buy the pro pan refill shadows over the net... since not all colours available at MAC pro stores here. The pro refill pan is more effective for the palette, coz you dont have to take much effort depotting, and the magnet is already attached to it together with the label so the eyeshadows can be easily customizable.

There are several ways to de-pot the eye shadows, but the one I do is the simplest and the easiest method. Follow these simple steps:
 Tools you need: 90-95%  Rubbing Alcohol ( I dunno where to buy this since alcohol is a controlled item here, in Malaysia ;) - I was lucky to get this item from a fren who works at a cosmetic store. I guess any counters that sell cosmetics have this item since they use it to sanitize their make up/testers for hygienic purpose) , Cutter, Any sharp/thin/pointy tools ~ a knife will also work, a cotton bud and tissue
*Dont worry if you dont have alcohol, you can use a lighter / burning candle to heat the pan to take it out from the plastic insert, follow the initial steps below first...
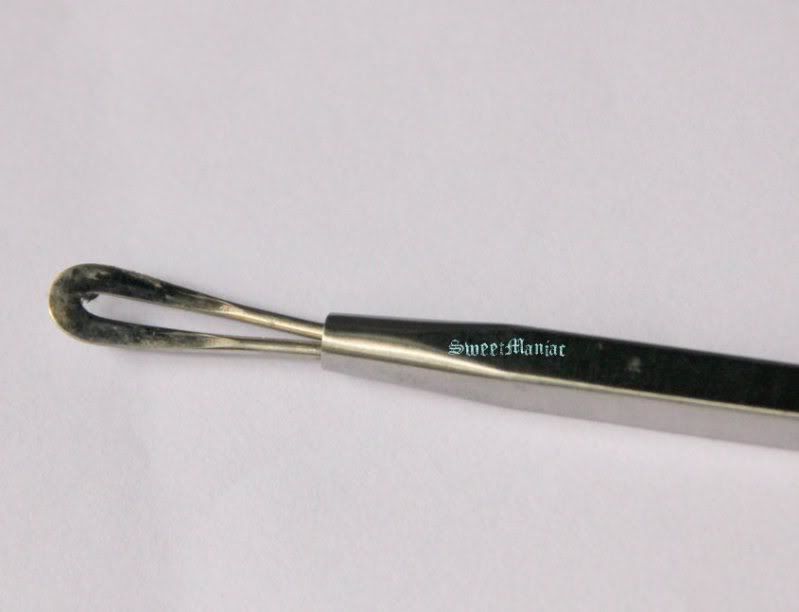
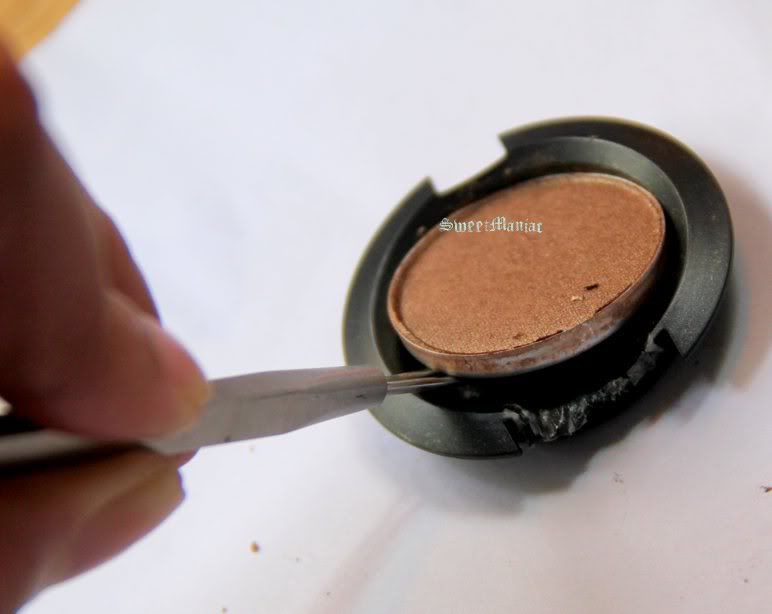
 I use a big metallic loop extractor thats specially designed to remove the blackheads to separate the eyeshadow pan from its case. 
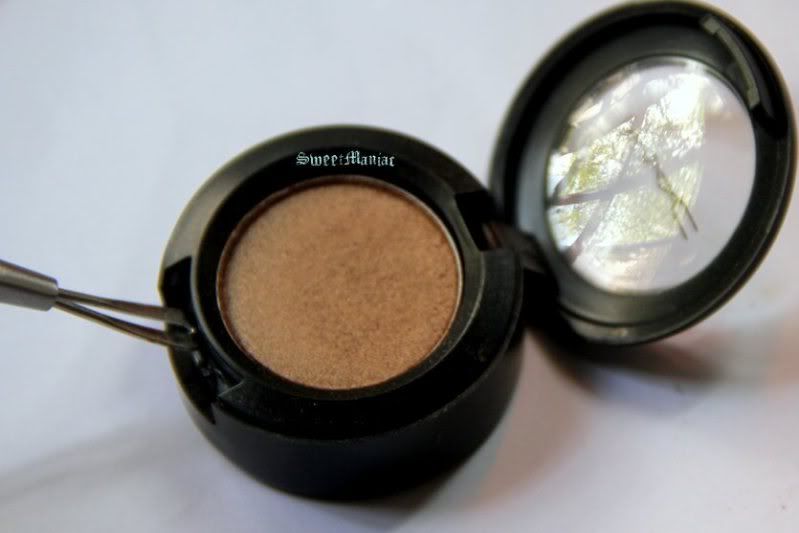
 Insert the pointy tips at the front latch of the pot, and gently push up the insert plastics that holds the metal pan eye shadow apart from the pot.

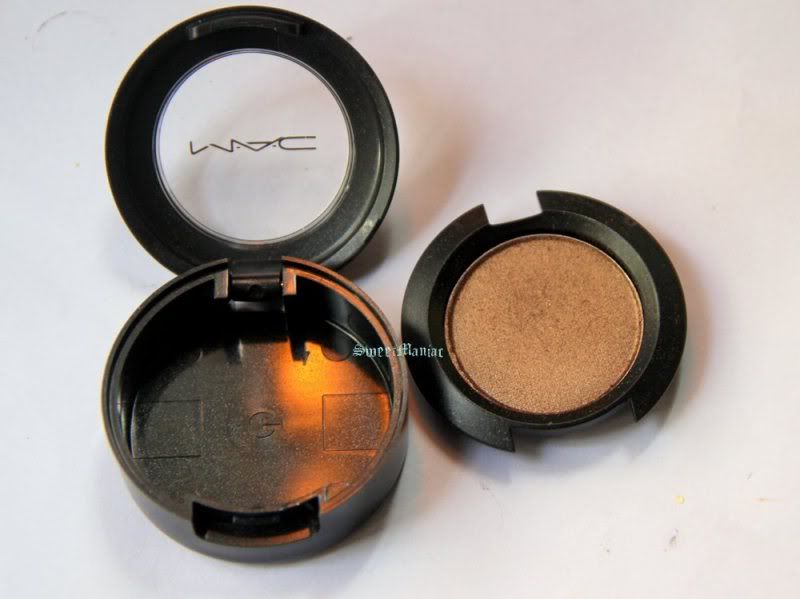
The two separated pieces. You can put aside the empty container  but dont throw it away ! Collect 6 of the empty pots (mix of any 6 empty containers would do) you can get them back to MAC and youll get one regular lipsticks of your choice except for the Viva Glam range in return ! ;)

Cut just a little bit of the front latch  on each end (becareful not to cut the metal pan). Grab the plastic insert in between the cut piece by using the plyer and peel it of a little until you see the metal pan.

*If you are using candles/lighter, just heat up the bottom of the pan to melt the glue. Hold the pan by using a mini sharp pointy plyers coz the pan will turn very hot. After a few seconds, try push the heated plastic insert by using the mini plyers... make sure you turn the eyeshadows facing a clean towel/paper coz it might pop out from the plastic pan and dropped.
 Pour a lil bit of alcohol into the peeled area and wiggle it so that the alcohol is spread all over the bottom of the pan. You can directly spray the alcohol / wet a q-tips with alcohol and drip it into the spots in between the metal pan and plastic insert. Try not to get too much of  alcohol into the products, just drip it directly between the holes. The alcohol may soften the glue and removing the pan from the plastics would be easy !

*You may skip the above step if you are using flames. Try re-heat if its hard to remove the pan from the plastics until the glue is completely melt. You may follow the steps below after you have finished with the heating part.

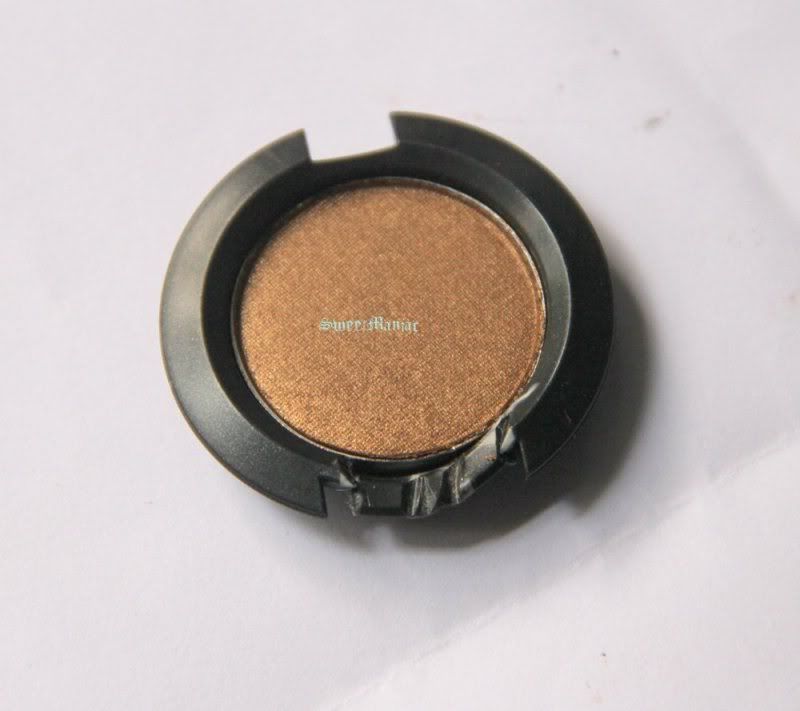
Once again, I use the pointy tools and push up the metal pan from the plastics. Do it very2 gently !

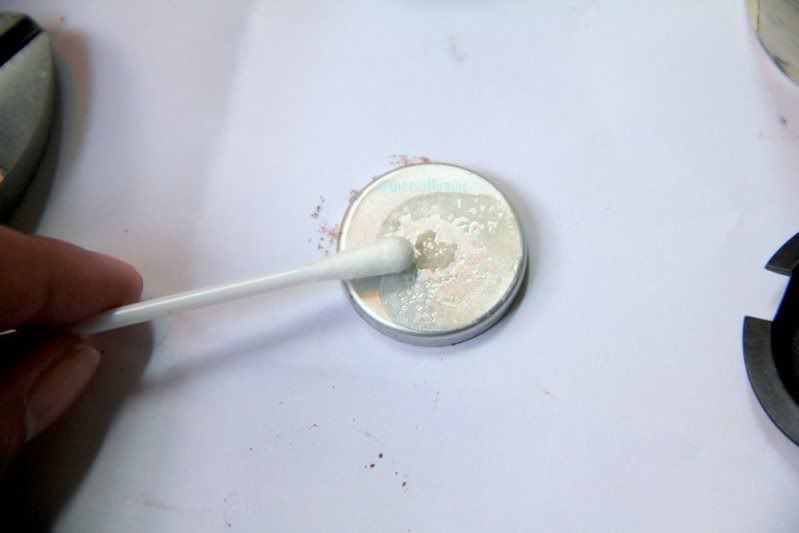
Here is the metal pan when its taken out..the remaining glue that sticks at the bottom can be cleaned up using the alcohol. Use a q-tips to do this and rub off any excess by using a tissue paper. Make sure that you place the eyeshadow pan on any clean surface ( I use a white paper). You can either place it on a clean towel / tissue paper instead.

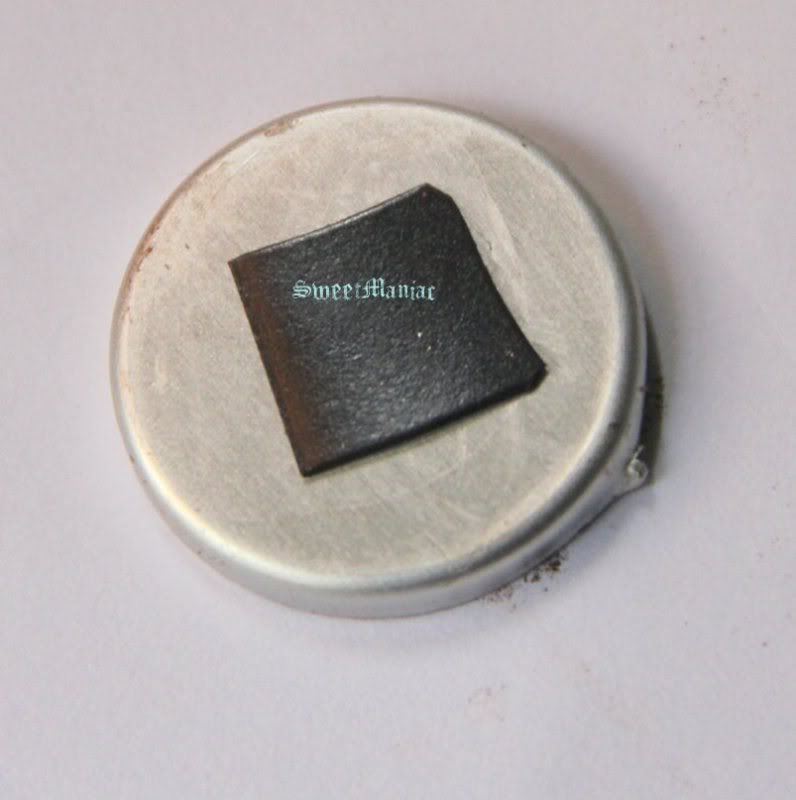
Cut a piece of magnet and attach it to the bottom of the pan using a double sided tape. The magnet paper is rarely find here coz its a product from Japan ( you can look up this thing at kinokuniya/ jusco midvalley/Isetan stationaries). If you wanna put the sticker lable at the back of the pan, peel off the labels from the pot first and attach to the magnet using the double sided tape and cut the magnet according to the label shape.  
*Notes: The sticker labels is easier to be peeled off by heating the pots. Hold the pot with  a plyer couple of inches away from a burning candle to make sure the sticker label is not burned out. Heat until the glue melts and its surely can be easily taken off from the pot.


After the depotting and labelling is done... you can now customize the depotted shadows in an empty palette as you like !! ;)

There are two types of palettes that you can choose .. one is a pro palette that has 15 empty slots and a quad that of course has 4 empty slots. These palettes can be purchased at the pro stores ( klcc / midvalley).
  
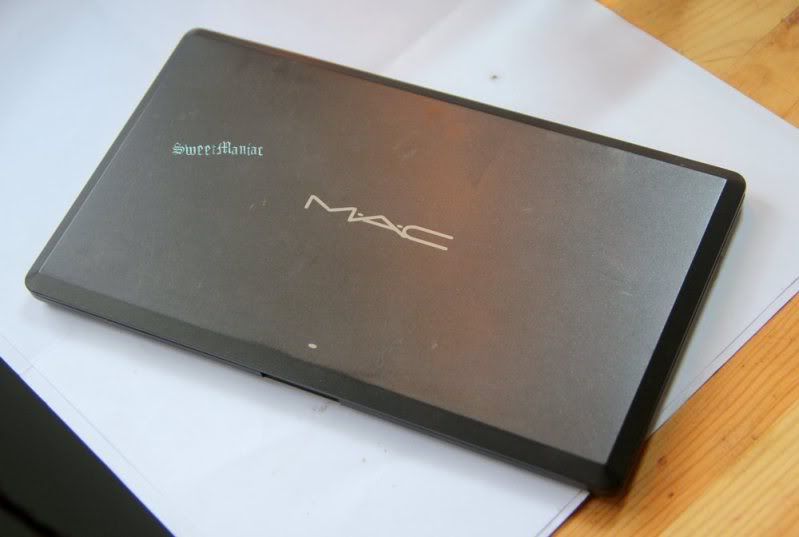
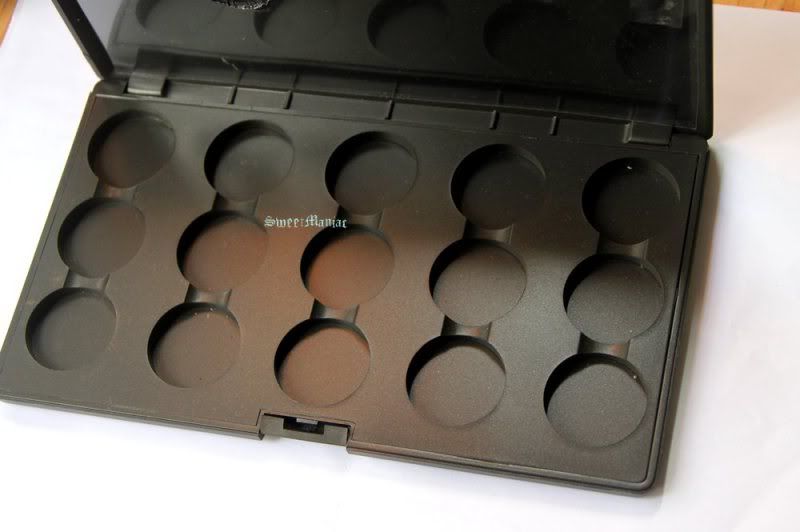
 MAC pro palette that holds 15 eyeshadows

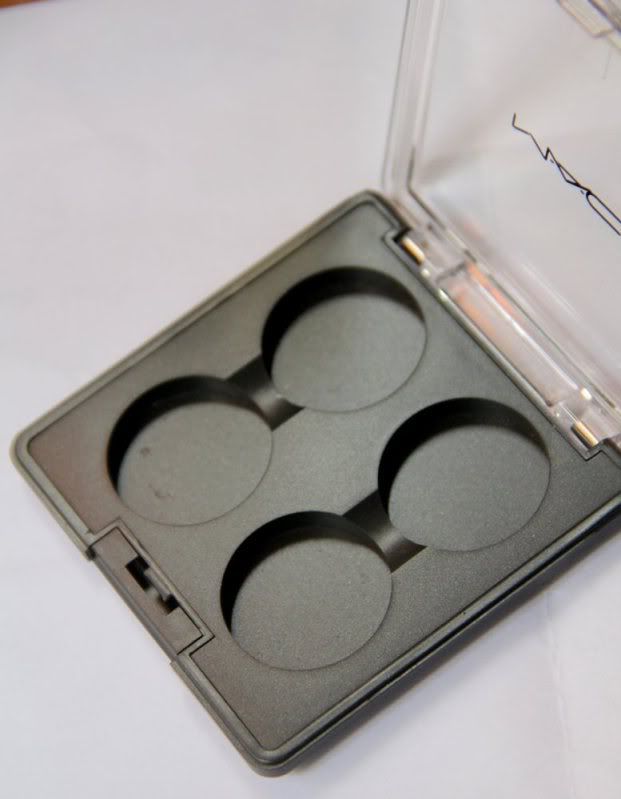
MAC quad that holds 4 eyeshadows

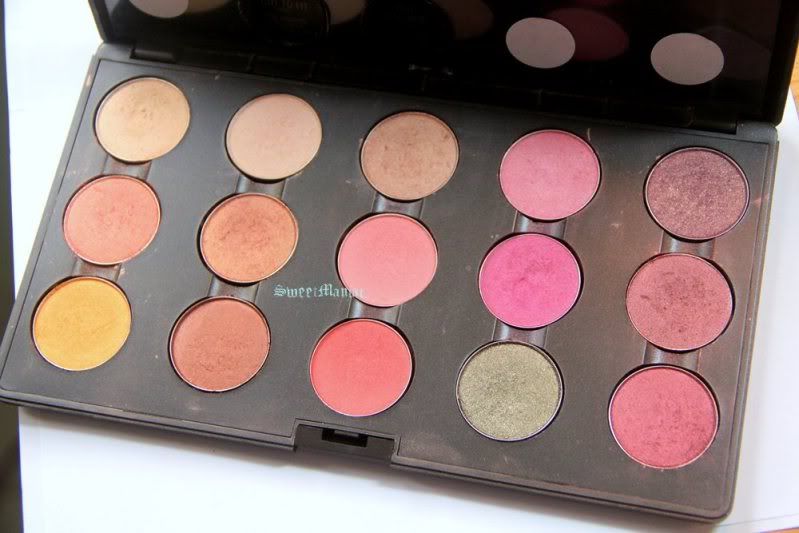
My MAC peach + pink palette. I like to keep all of the eyeshadows in palettes coz I think they are more organized and its easier to get an overview, and to decide which combinations to choose. 

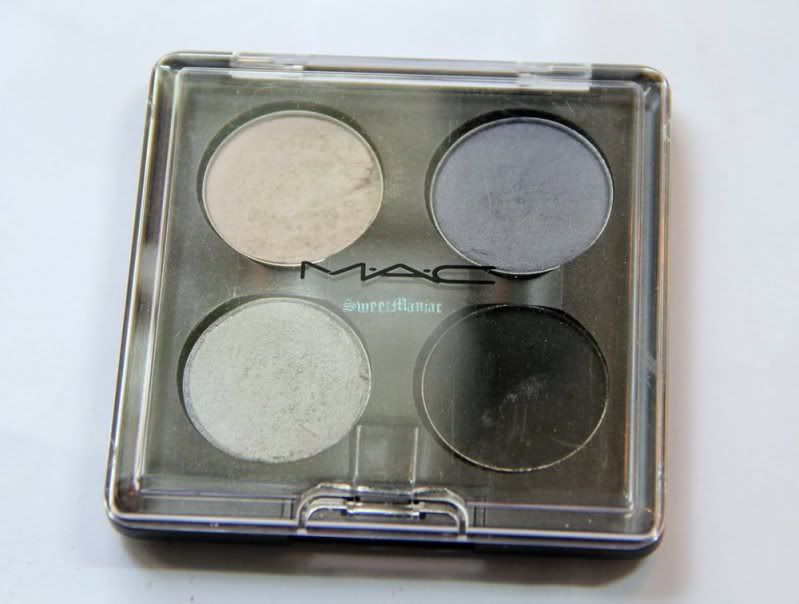
In case you are wondering... From left- right .Top: Vex, Love Lace, Bot: Electra, Carbon
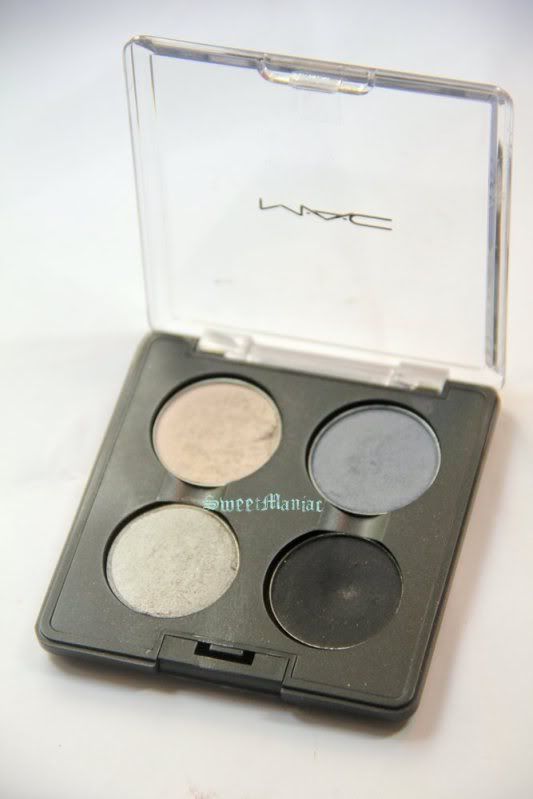
The quad is more handy and portable. I usually will pop in the shadows I need in this quad if im travelling coz its much more easier to pack. You can mix and match and change the colour anytimeeeee as you wish ;)

~Happy depotting and organizing your eye shadows !~ ;)

Monday, October 18, 2010

MAC Venomous Villain Haul + Swatches+ FOTD Part II

Here is Part II of my MAC Venomous Villain Beauty Spree ...

Lets see some other pretty powerful product swatches.

Bite of An Apple blush from the Evil Queen collections. It is said to be the best blush MAC has ever produced by the senior Celebrity Make Up Artist in Hollywood. Its a soft coral pink hue that mimics the original  flush when we blush.

 It looks really bright in the pan, its super pigmented and its a matte texture... but it can be build up from light to brighter shades. WARNING ! Dont you ever wear blusher like you are going to do a show at the sarkas ;p Apply using a fan brush. If you take it by a fluffly brush ,just tap it off on your palms first before applying on the cheeks. Can use your light hand applying couple of times on the cheeks for natural look.

 Its super pigmented corally like pink which suits fair to darker skin tone. Im glad that Ive added this in my blush collections ;)

Penultimate Brow Marker in Universal, is absolutely great for a busy girl on the go. Its a universal shades of brown, like a chocolate hue. I dont really like the colour coz its like more to reddish tone. Since I have very black eyebrows, this would darken my brows a bit more .. I once read in a makeup book, the makeup artist use a 'yellow' eye shadows to colour the brows. Can you believe this ? Please do! .. coz from the colour     formula itself ... black + yellow = brown ! Amazing tips, isn't it ! 
Well, back to this thing.  The tip of this pen is like a calligraph pen which glides on smoothly great for doing a strong brow. I think this is not the best tool for those with very thin and sparse brow coz it applies wet and look so unnatural on its own. The great thing about this product is, its not smudgeable and it appears to last all day ;)

I did a look using almost all of the products from this collection ...taraa..


 This eye makeup is great to make your eyes look bigger ! Read more to know how I did this.

 Using the mineralized shadows ( My Dark Magic), I applied the purple shadows wet, using a synthetic brush just onto my lid 3/4 towards inside but leave the inner corner for highlight. Any frosty colours would be great as a highlight. I tapped on the darker shades of purple colour from the same pan on the outer V and blend with the previous colour. To tone down the deep purple colour on the lid, I used a brown matte colour onto my crease.. a lighter brown to blend the purple ( I used Cork - MAC)  and a darker brown also matte shades (Espresso-MAC ) to deepen the colour. Ricepaper by Mac ( my most fav. highlighter colour!) is used to highlight the browbone.

 The false lashes on my bottom eyes were not properly attached !, Yess I knew, .. but I didnt bother to fix it up .. I was K-Kinda Lazzyy  ;p Before I put on the bottom falsies, I draw a thin line with black pencil along the lashes, and smudged ! On the bottom lashes, I simply put a bit of the same colour shadows as the lid and narrowed it a bit on each end. I didnt joined the eye shadows on my corner eyes,( the bottom with the upper eyes) coz I think this can make the eyes look more bigger.I used a cream colour pencil in my waterline instead of black.. coz this will also help the eyes appear bigger and brighter.

Love the super sparkly mineralized shadows ! My winged liner is achieved by using my fav. gel ink liner, MAC blacktrack fluidline.

The false lashes used in this look, #43 by MAC and some cheap lashes for the bottom eyes. I usually clean it up using tweezers to take out the sticky glues. Take a cotton bud with some eye make up remover, and gently swipe the falsies to remove any sign of black mascaras away.

The complete look. Love the lip colour ? At first I applied the violetta lipstick but it turned out very gothic and dramatic.. so I rubbed it off and applied the Innocence, Beware on top. I guess, the colour a bit mixed up together so it turned out quite purply pink.

Till then. Hope you benefit something from this ;) xoxo

MAC Venomous Villain Haul + Swatches Part I


This time, MAC has teamed up with Disney for a special collaboration of the latest limited edition stuffs., the Venomous Villain. All the products are inspired by 4 villains in Disneys Movies; Cruella De Vil of 101 Dalmations, The Vain Evil Queen from Snow White, Maleficent from Sleeping Beauty, and Dr. Facilier the voodoo witch doctor from The Princess and The Frog. When I first being informed by the MUA that, the collections already hit the stores,  I quickly gave her my  product lists to be reserved first ;p ...coz I knew some special items could be sold out within hoursss ! 

My Mac Disney Collection Beauty Spree ;)


Each of the boxes has got this kind of character sketches on it .. which I lovee and these will be great as part of my boxes collections too !

The collections are divided into 4 parts according to each of the  Disney characters and I only grabbed a few items from each of 'em. Its not deniable that the packaging is really cute coz its got the beautiful stamped character on it, but thats not the reason why I bought the stuffs, though . The first time I heard that MAC will come out with Disney inpired collections, cute characters came to my mind like mermaid / daisy duck perhaps. (hehe I love daisy duck ever since I was  a kid ;) ) However, I think the villains idea is super cool too and the colour collections are great! Yess definitely, especially the super pigmented mineralized eyeshadows.
 I got only two Evil Queen eyeshadows, and both mineralized eyeshadows from Maleficent.
Two super gorgeous colours mineralized e/s, She Who Dares (Left) and My Dark Magic (Right). I love Maleficent image on almost every product, especially this and the lipsticks.
 Evil Queens e/s: From left is Vainglorious and Her Alter Image. Love it !

L-R Counterclockwise: She Who Dares, My Dark Magic, Vainglorious, Her Alter Image

 The swatches: All the colours that you could get from the mineralized e/s, I love 'My Dark Magic' in overall, but only the green colours from "She Who Dares. I think, the blue one is pretty similar to the mineralized e/s from the Style Black Collections which I already have. The textures of both e/s are super great and gives good pigmentation ... much2 more better than the previous formula ;)

 Both the swatches of e/s that I got from the Evil Queen Col. I skipped the matte purple one ( Vile Violet) though i think the colour is really pretty, coz I have so many purplesss in my collections. Purple eye shadows are really great for brown eyes. The colour will make your brown eyes .. POP ! ;)


My Most FAV. Products. The lipsticks and the lipglass ! Look how evil maleficent looks on the lipstick casing. E-vil but gorgeous ! ;) 


 L-R: Innocence, Beware !, Violetta and Revenge is Sweet l/g

These are the swatches of  my most fav. lip products: L-R: Innocence, Beware ! (Love the name as well as the colour), its a nude yellow pink ~ great to match with smokey eyes  or can be worn this as your daily lip colour, pretty pale.. you would look pretty innocence , though ;p  Dont worry, you can always combine nude lip colour with a matching darker shades of lip liner but blend it well to give it a lil colour. Violetta ( One of MAC bestseller lipsticks), so so so pretty. I always love purple / fuschia tone lip colour. This one can be categorized under the same family with Show Orchid,  & Petals and Peacock., but Violetta is more to purple tone. Gorgeouss !! Revenge is Sweet l/g, is a matching lipglass to Violetta. Its a purple hue with yellow undertone .. so it suits fair to darker skin tone ;) Gorgeous on its own as well.

Im not really into Dr. Faciliers product except for 1 thing ...

Venomous Villain Magically Cool Liquid Powder in Truth n Light. Mac describes this limited edition powder as, "A silky, feather-light powder, formulated with 70% water, dusts on to the skin as a cooling mist to set and enhance the look of any foundation. Beyond sheer. Light reflecting, and translucent. A virtually invisible way to add luminosityand a soft radiant glow to the skin".  

There are two shades, Cajun and Truth n Light where the one I tookt is more wearable for fair to medium skin tone. Its a sheer shimmer that reflects silver and pink. I love this magic powder. This, however is very shimmery so its great to be applied only as a highlighter on the cheeks, bridge of nose and a lil bit on the forehead. The cooling effect after applying is amazing feel coz the powder turns into liquid when applied. 

 The swatches of Truth and Light. This thing is so hard to photograph.. you can barely see it in this picture. So, does it mean that its safe to powder this all over the face ?

 I didnt grab any of Dr. Faciliers pigment line but I did get free samples of all the pigments ;) This is enough for the whole of my life since I dont really wear this .. haha

 Pigment Swatches from L-R: Push The Edge (Deep Bright Purple with Pearl), Brash n Bold ( Bright Magenta), Melon (Soft Bright Golden Peach)

~To be continued in Part II~

Wednesday, October 13, 2010

Free Gifts

I'm pretty xxcited to share with ya'all these special gifts that I received  from MAC. Thanx to the manager !! :) Im sure you know why I got the gifts right *wink*

I got 1 beauty powder, Summer Rose ( From the Rose Romance Collections released  Feb, last year if Im not mistaken) and a Perfume (Hue-Pinkaura), also a limited edition stuff from the Spring Colour Forecast (released Feb, this year). Unfortunately ......................


I already own the beautiful carved rose beauty powder !! So, now I have two similar items in my collections .. uh-huh.. and too bad I dont really wear this , coz the colour doesnt really show up on my skin. Its a gorgeous colour btw . 

Love the carved rose soo much ! Well, I could just look at this all day ;p

 Never tried any of MAC's perfume before ... Im so happy to receive this.

Its a square bottle with black on the bottom + lilac-ish colour of the cap. The main note of this fragrance are freesia, black violet and magnolia petals + citrus which gives pretty flowery and very sweet smell.

Love the scents but I realized that the staying power is not so good. But who cares ? I got this for FREE hehhehe :D

Till then... 
Happy Working guys :)